Set up a short form particulars contract (no Performance Based Acquittals)
There are three types of short form agreements that can be created in P2i as part of the Contract Setup process:
-
Short form particulars when investment specifications apply - refer to Set up a short form particulars contract (with Performance Based Acquittals)
-
Short form particulars when no investment specification applies.
-
Short form event particulars for a one-off event - refer to Set up a short form particulars contract for an event.
The P2i Senior user is responsible for setting up the short form particulars in P2i.
Warning Do not use the browser's back button or refresh button while using P2i.
To set up the short form particulars:
-
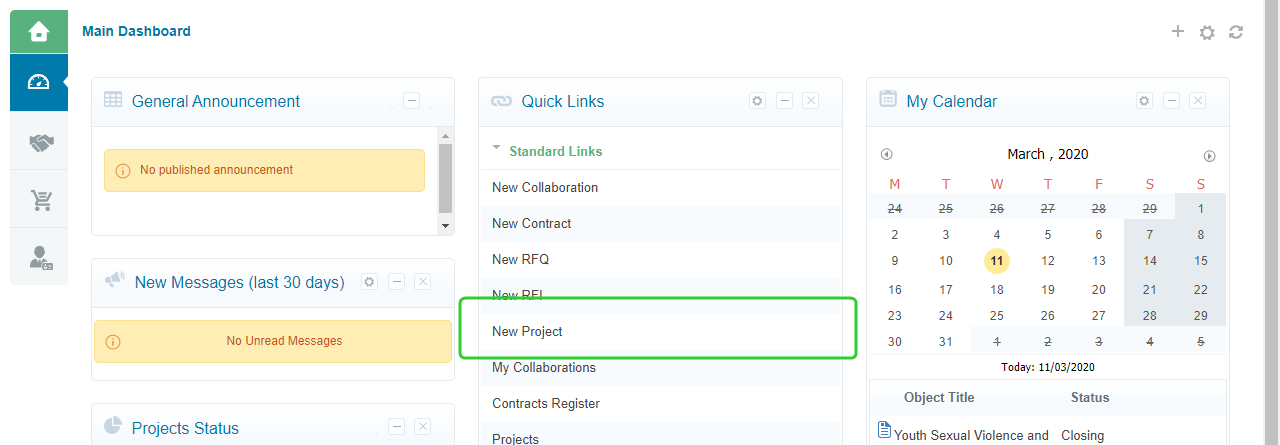
Click the New Project in Quick Links.
Note If your agency is creating the particulars contract for an event based on an existing Procurement Project , then click Projects and select the required project.
-
Click Create from Project Template.

-
Select SS Proc to Contract
 SS Proc to Contract is a shortened for "Social Services Proceed to Contract". This is a project template. and click Select.
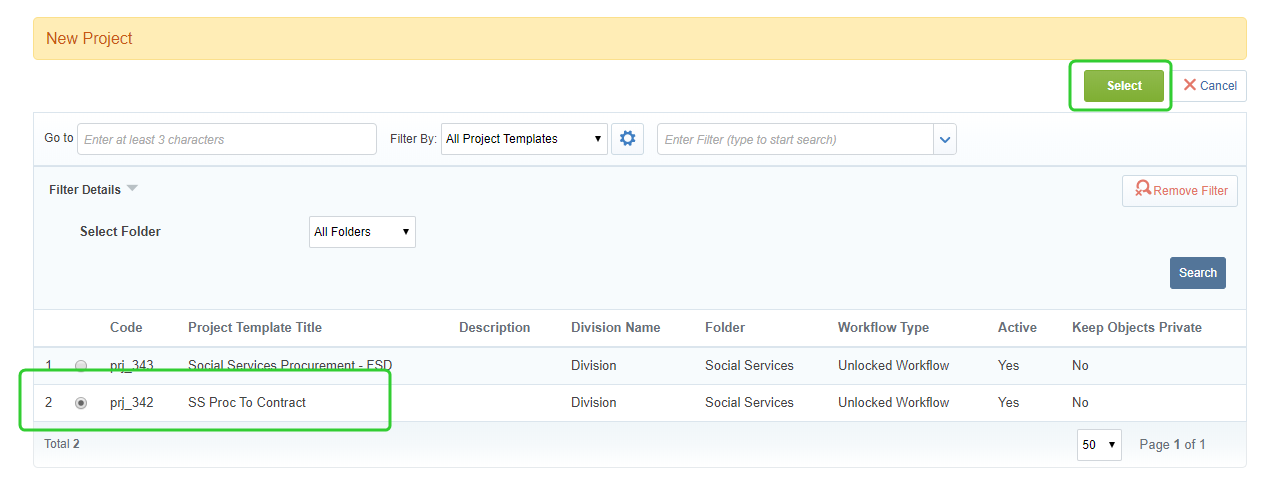
-
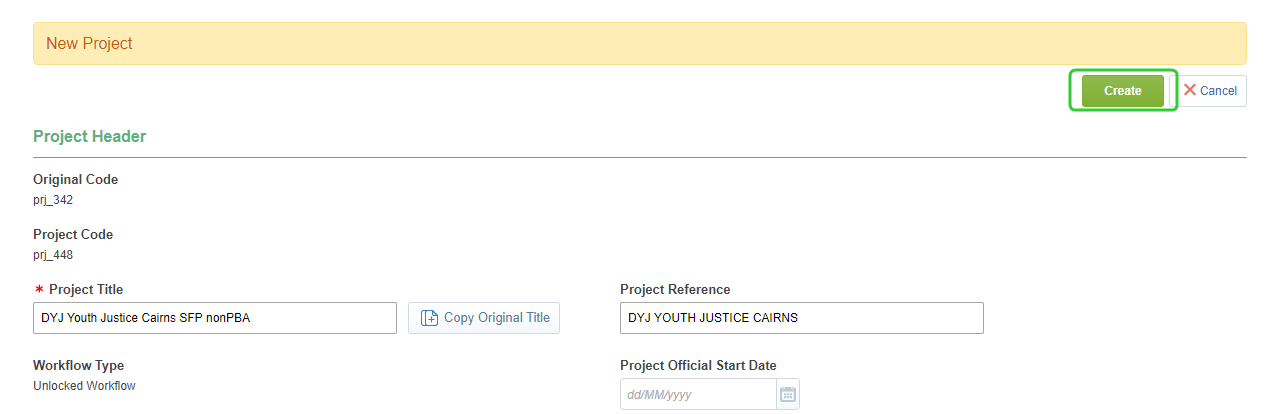
Enter your Project Title.
-
Enter your Project Reference .
-
Click Create.
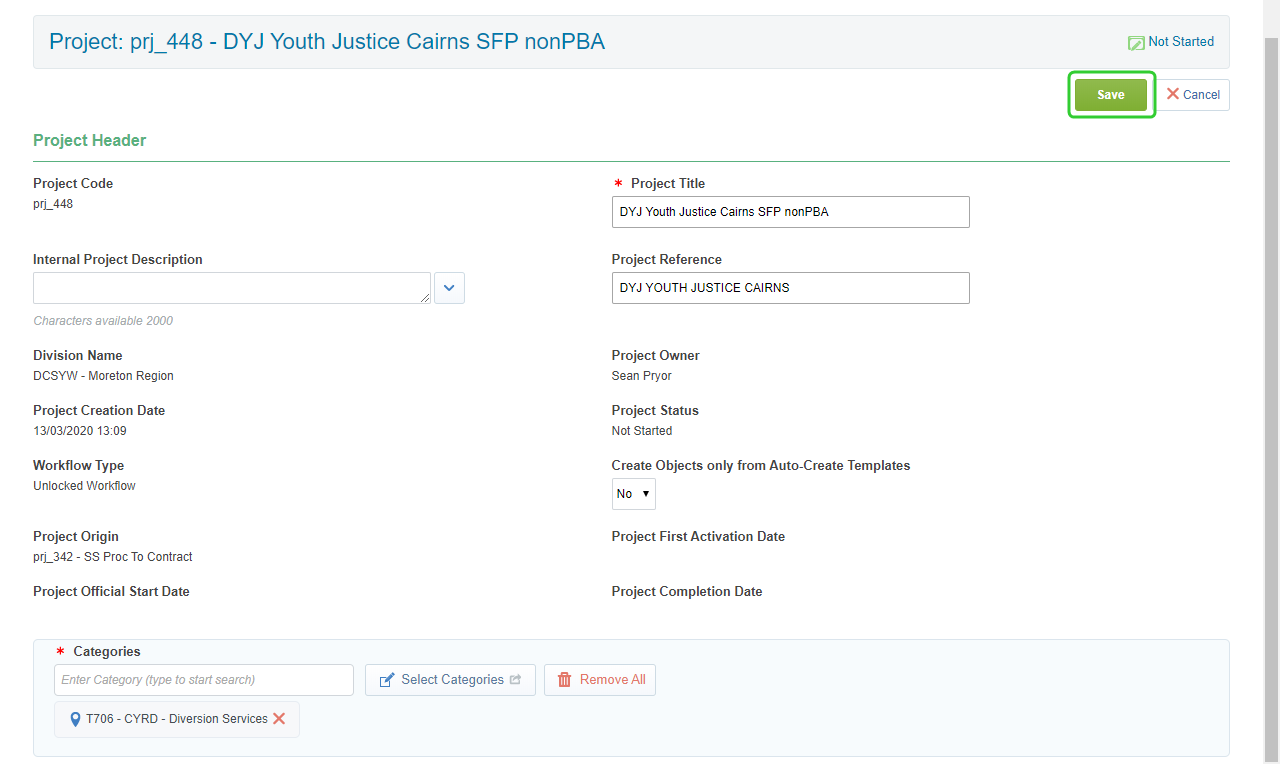
Add an Internal Project Description and any Service Types to the Categories field and click Save.
-
Click Change Status to Running.
-
Click Start Project.
-
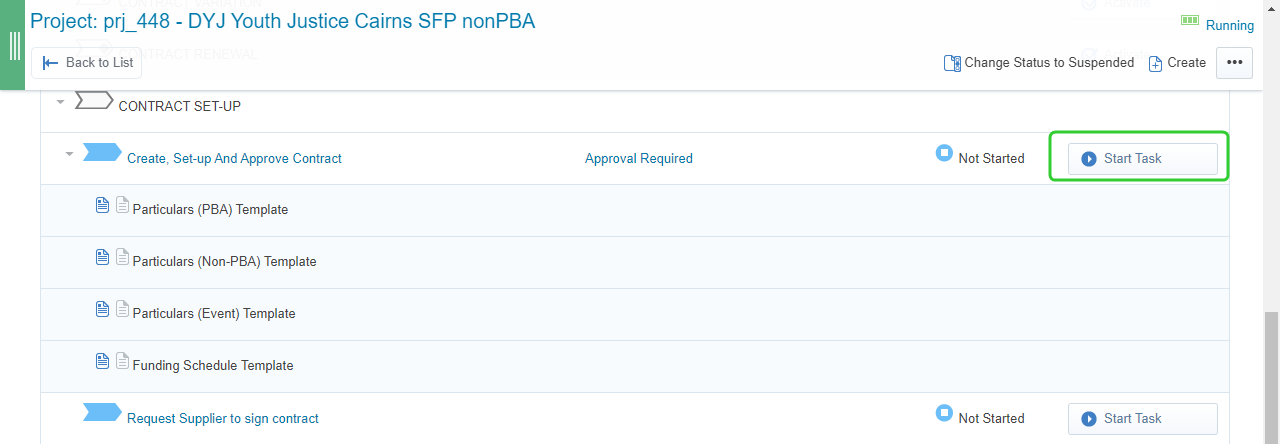
Click Start Task next to Create, Set-up and approve contract.
Tip If you promoted any objects from the Seek Business Owner Approval for RFQ Outcome (RFQ) task as part of an existing procurement project, then theCreate, Set-up And Approve Contract task is already Running.
-
Click Confirm.
-
Click Confirm.
-
Refer to the Task instructions.
Note Set up your Contract, capture key documents and project team.
1. To collaboration attach approved Contract set up documents visible only to the department, including for example:
a. Value Risk Matrix
b. Sourcing lead to draft contract management plan/checklist
c. Contract to complete Contract Management plan/checklist
d. Funding Memorandum of Approval (where not already captured in an RFQ process)
e. Letter of offer.
f. Other form(s) as appropriate
Please obtain approval for Contract set up documents offline, scan and add to P2i.
2. Set up the appropriate contract in P2i based on the contract classification determined by the Value Risk Matrix assessment
a) If your Value Risk Matrix assessment requires a Funding Schedule, please create a Funding Schedule project in P2i and either create a new FSD or relate to an existing FSD.
b) If your Value Risk Matrix does not require a Funding Schedule, create the relevant Particular in P2i.
3. Please approve the Particulars or Funding Schedule so that it can be shared with the Supplier as a draft via P2i
Also, please ensure you add the following wording to your approval request
" By approving this contract setup request, you acknowledge:
1. Funding has been approved by appropriate financial delegate
2. Documents have been reviewed, and
3. Contract setup can progress per the FMA recommendation
If you reject, please provide comment when prompted."
-
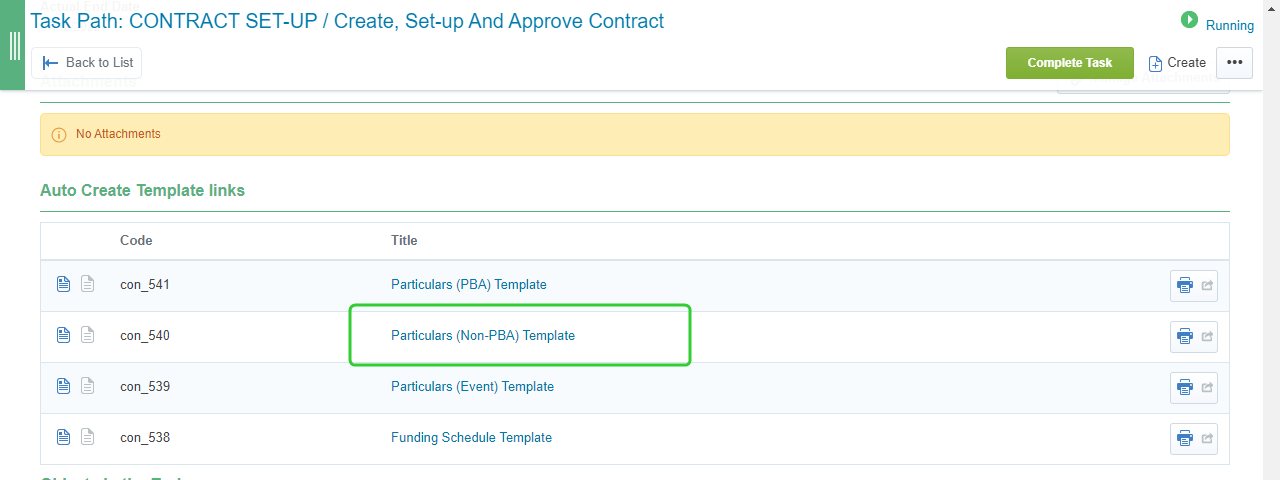
Scroll down and click the Particulars (Non-PBA) Template in the Auto Create Template links section.
-
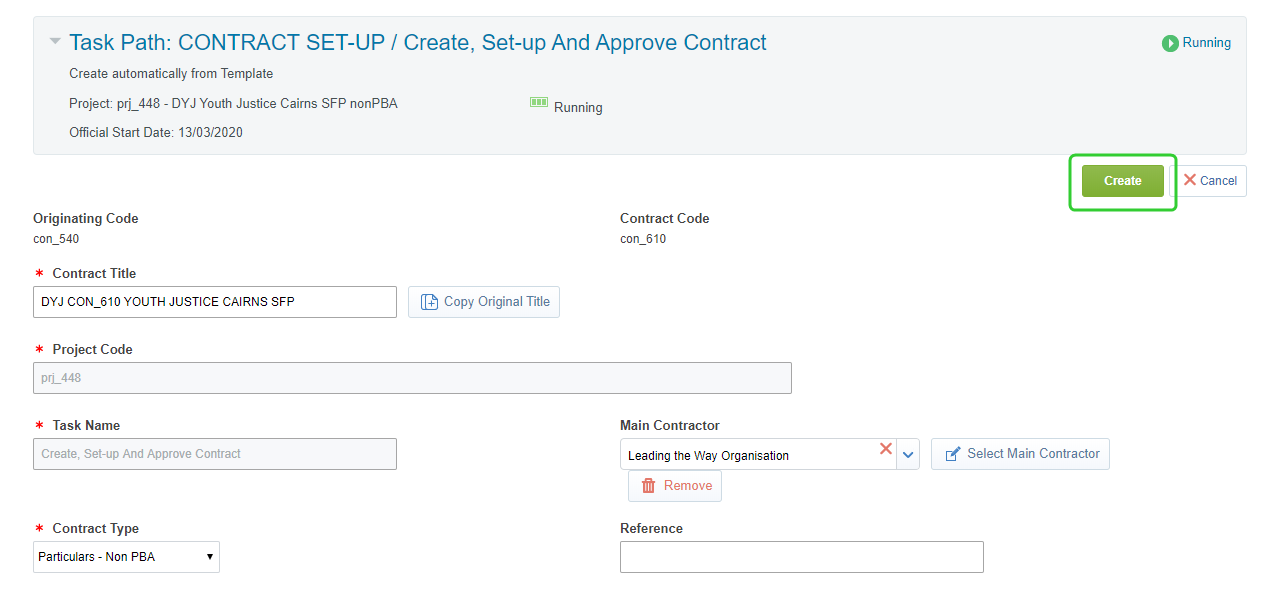
Enter the Contract Title following the established naming convention.
Note Use the following naming convention for the Contract Title and short form particulars document:
Department/Contract Number/Program/Service Outlet No/SFP
DCYJMA CON_### PROGRAM ###### SFP -
Enter or select the Main Contractor.
-
Add a reference if required.
-
Click Create.
Warning Do not change the Contract Type after you have selected the Particulars - Non PBA template. Each template has automatically generated clauses when selected. Changing the Contract Type does not change these clauses and the contract will be generated incorrectly.
-
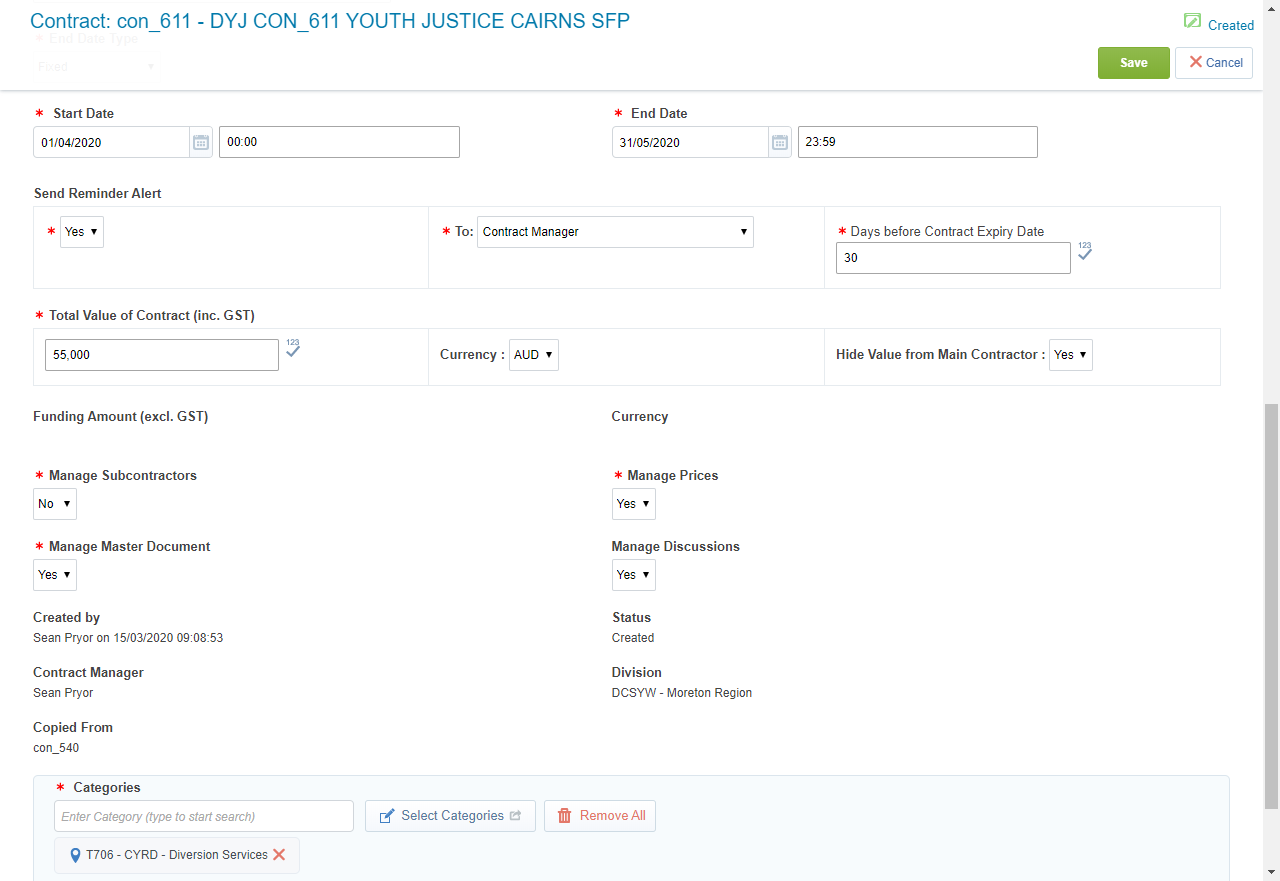
Complete the Overview form including the Start Date and the End Date.
-
Enter the Total Value of the Contract (inc. GST).
-
Set the Send Reminder Alert, who you want the alert to go to, and the Days before Contract Expiry Date.
-
Click Save.
Note Follow your department's rules for naming your project. For example,
Department/Name of Program/Region(s)
DCYJMA Youth at Risk CQ
Consistently naming your Project Title allows it to be easily searched later and improves reporting.
Note Follow your department's rules for naming your project. For example,
DEPARTMENT1234/NAME OF PROGRAM/Region(s)
DCYJMA1234* YOUTH AT RISK STATEWIDE
Consistently naming the Project Reference allows it to be easily searched later and improves reporting.
*The program number is the project number generated by P2i.
Note These form the Important Dates section of the Funding Schedule which contains the Services Start Date and the Agreement Expiry Date.
Warning The Budget Tool is always the source of truth for the total values of the short form particulars event contract.
Warning Leave all other settings unchanged.
Tip Engage with the Contract - Prices guided learning simulation.
Download the Contract Prices template (xlxs, 19KB) to use when adding prices to a contract with NO category sections or prices.
The one-off funding amounts are set up through the Price section in P2i.
To create a list of funding amounts for the contract:
-
Click Prices.
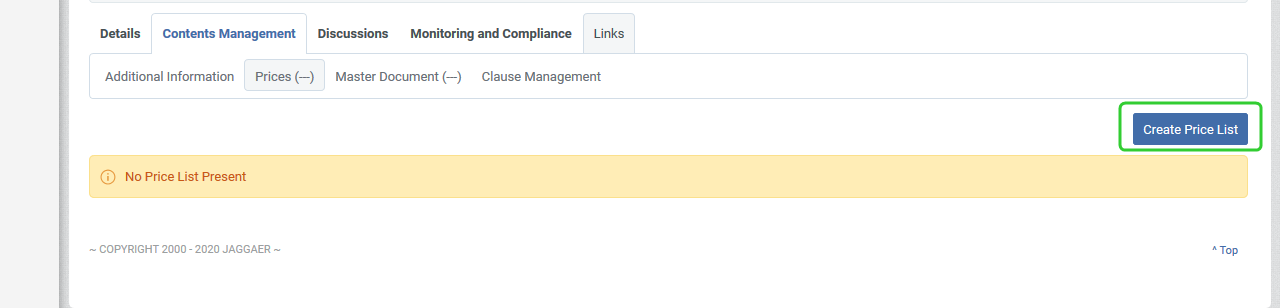
-
Click Create New Price List.

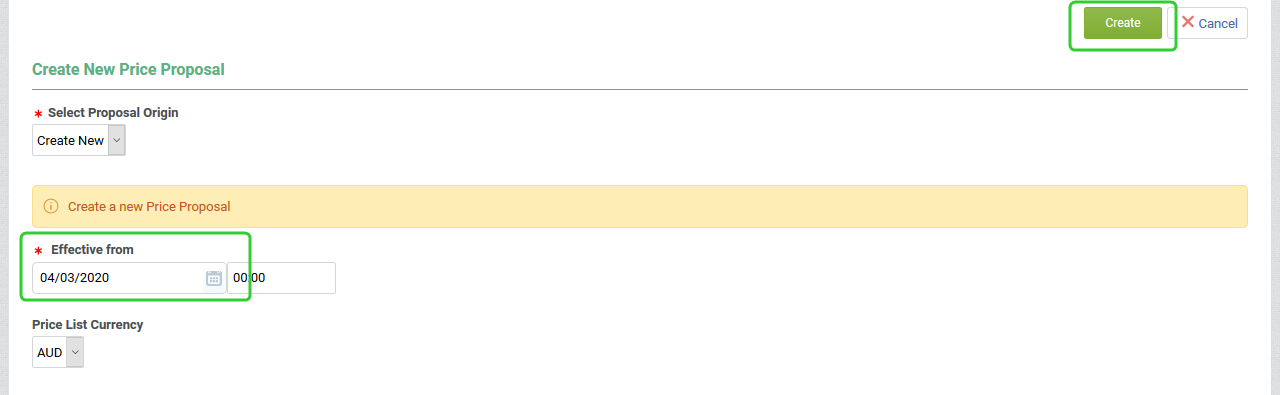
-
Enter today's date in the Effective From field.
-
Click Create.
-
Click Add Section.
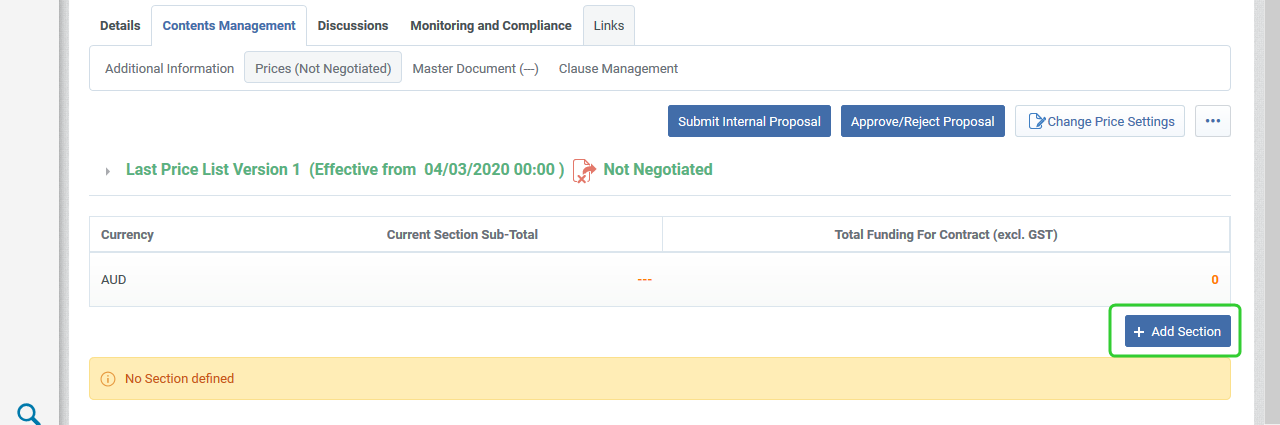
-
Enter a Section Title and click Create.

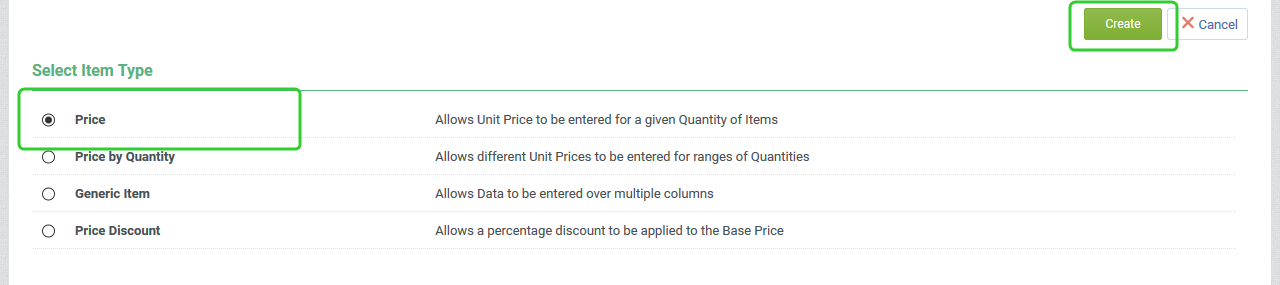
-
Click Add Item.

-
Select Price and click Create.
-
Search for and select the Master Item.
Note Once the Master Item is selected, the Item Code and Description fields will automatically populate.
-
Enter the year or period that the funding applies to.
Tip Enter the applicable month/year combination for this item in the format of:MM/YYYY (e.g. 05/2020).
Warning The funding period must be entered in the required format without any spaces or other characters. The funding period must be within the start and end dates of the contract.
-
Set Display Funding Period to Yes.
-
Select One-off funding from the Funding Type list.
-
Enter 1 for the Quantity and leave Display Quantity as Yes.
-
Enter the Unit Price.
-
Click Create.

-
Click Approve/Reject Proposal.

-
Click Approve Proposal.
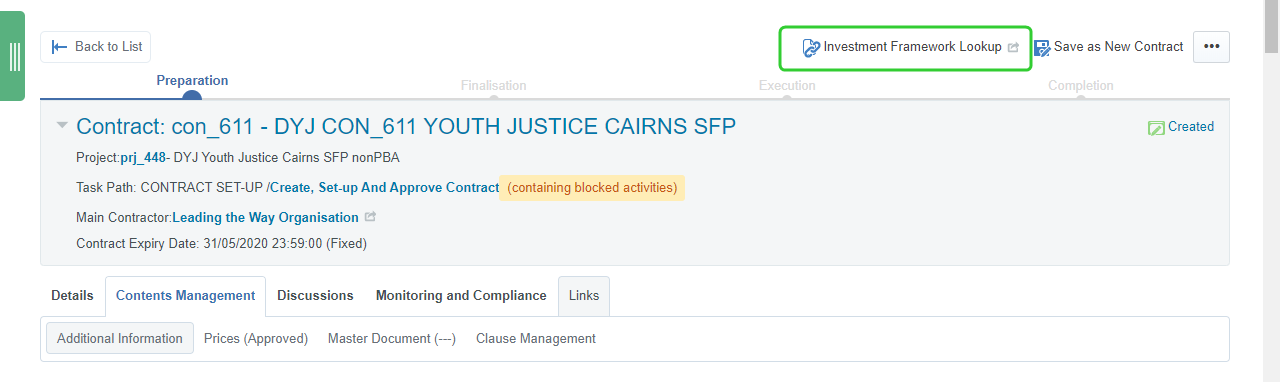
Once you have added and approved the one-off funding amounts, you can use the Investment Framework Lookup to select geographical catchment areas.
To add geographic catchment areas:
-
Click Investment Framework Lookup.
-
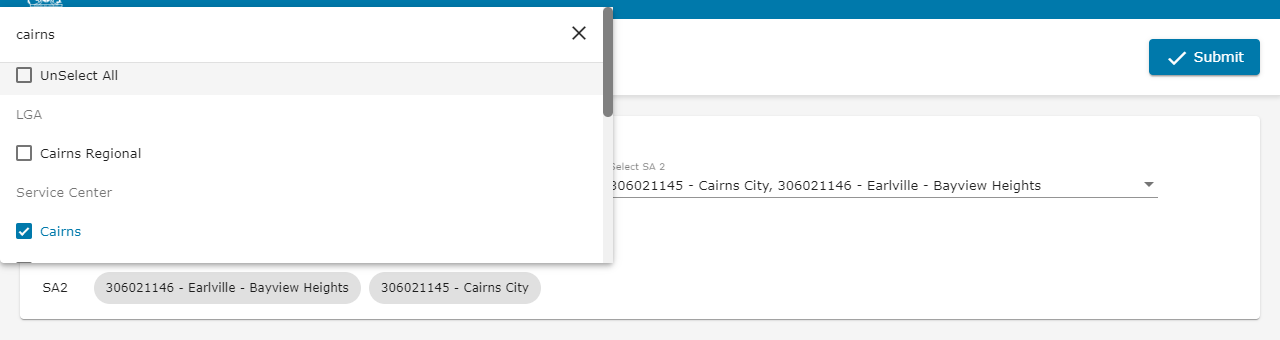
Add the Geographical Catchment Area.

-
Make one or more selections from the Select LGA, Service Centre, State Electorate, Commonwealth Electorate ... dropdown.
Tip Use the search field to narrow down your selections.
-
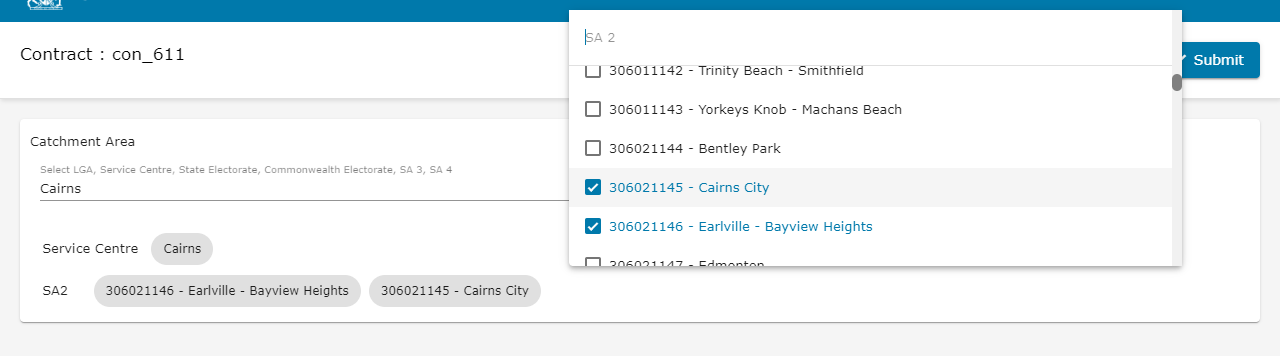
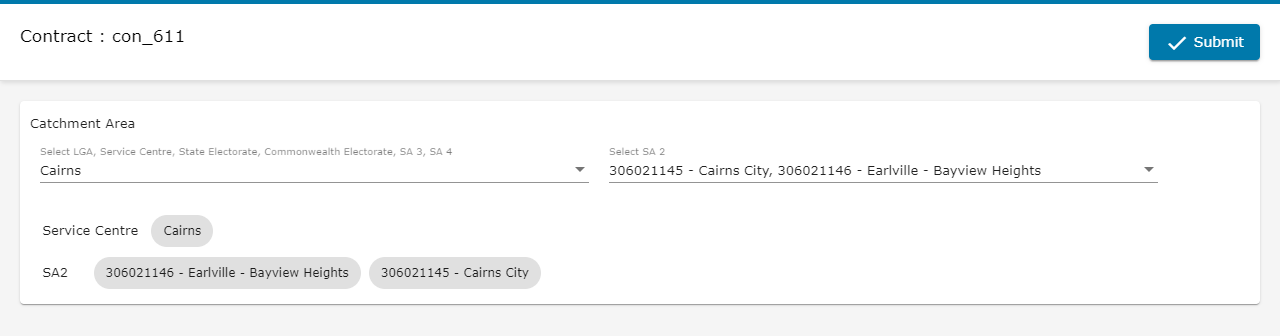
Make one or more selections from the Select SA 2 ... dropdown.
Note The two dropdown lists work independently, so it is possible to select items from the SA 2 list that are outside of the areas selected from the LGA list.
-
Click Submit.
-
Click Close.
-
Close the Investment Framework Lookup to return to the contract screen.
Once the initial set up is complete, you add the Additional Details. The Additional Information form allows you to fill out the sections of the contract.
To manage the contents of the contract:
-
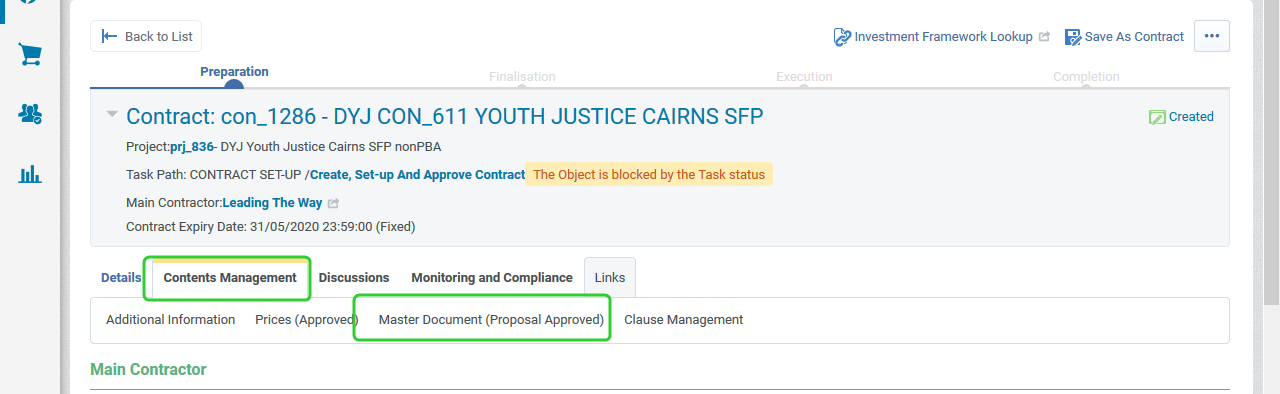
Click the Contents Management tab.
-
Click Additional Information.

-
Click Edit.
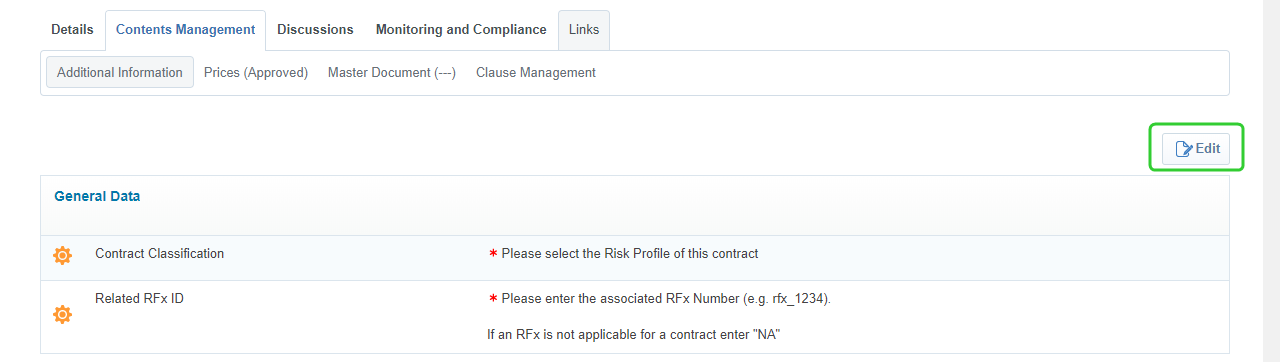
-
Enter the Additional Details of the contract.
-
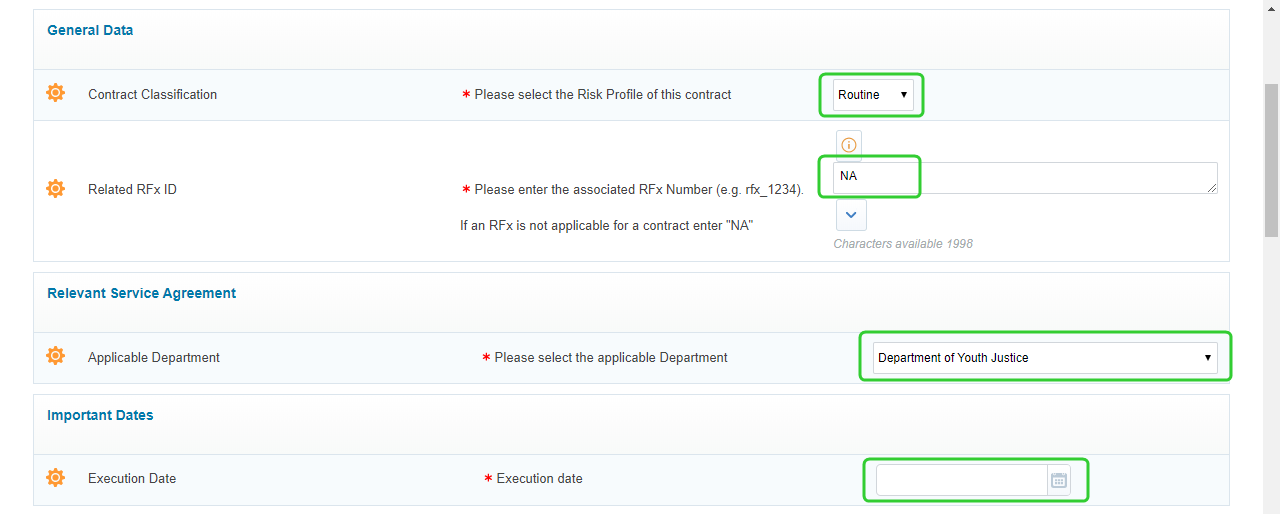
Select the Risk Profile.
- Focused (low value / high risk contracts)
- Leveraged (high value / low risk contracts)
- Routine ( low value / low risk contracts)
- Strategic (high value / high risk contracts
-
Select the Applicable Department.
-
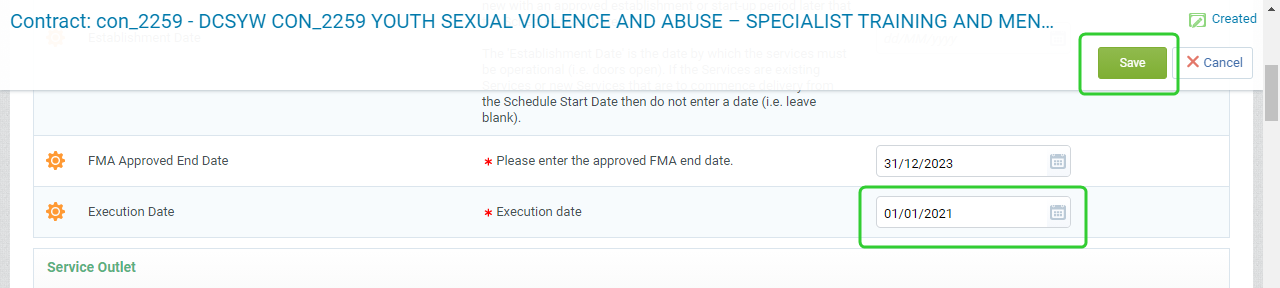
Enter the FMA Approved End date.
-
Do not enter the Execution Date at this time.
Note The Execution Date is the last signature date on the short form particulars. This is to be entered by the P2i Contract Officer as part of the Attach and activate contract task.
-
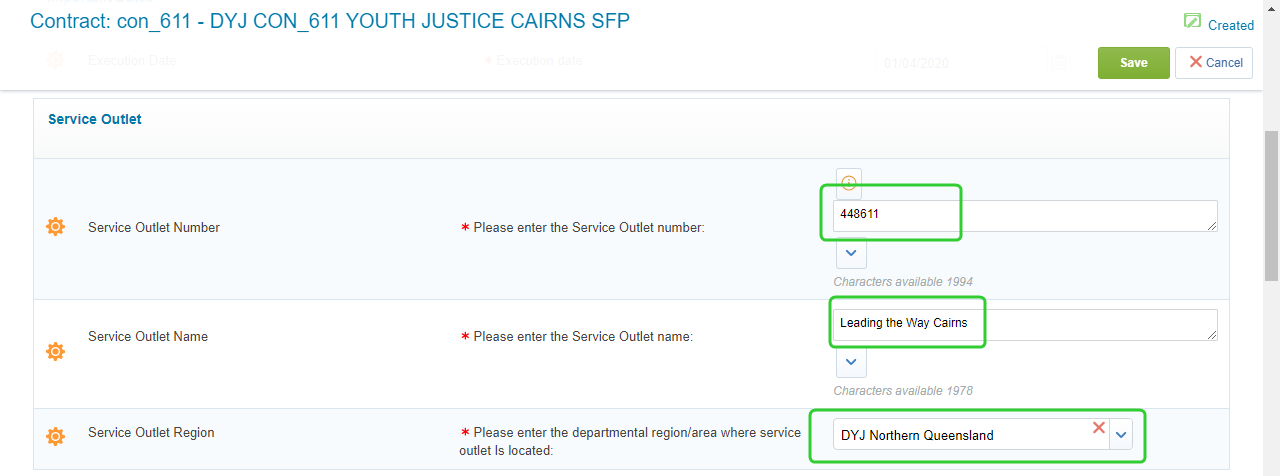
Enter the details of the Service Outlet.
Tip The Service Outlet Number is the combination of the Project Number and the Contract Number.
-
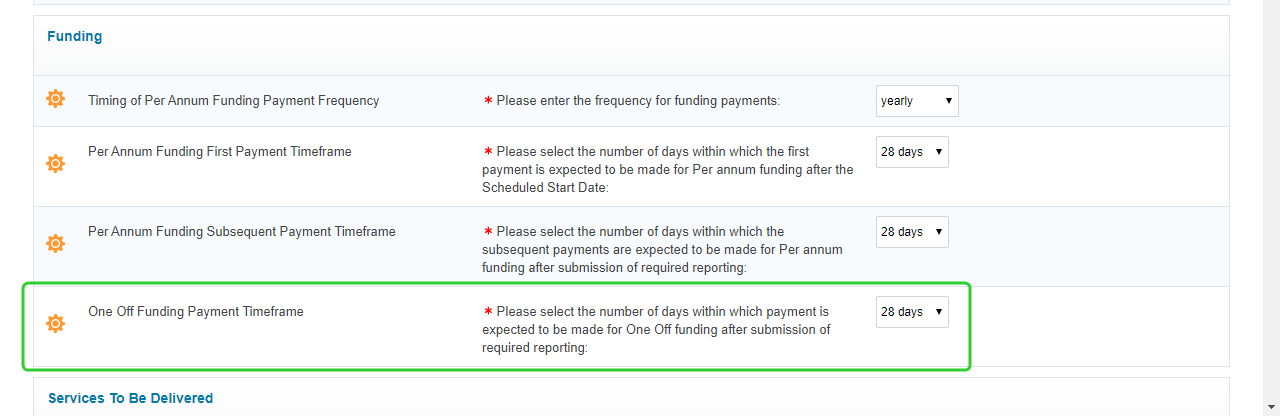
Enter the Funding information, including the One-Off Funding Payment Timeframe.
Tip As there is no per-annum funding, set the period to Yearly and the timings to 28 days.
-
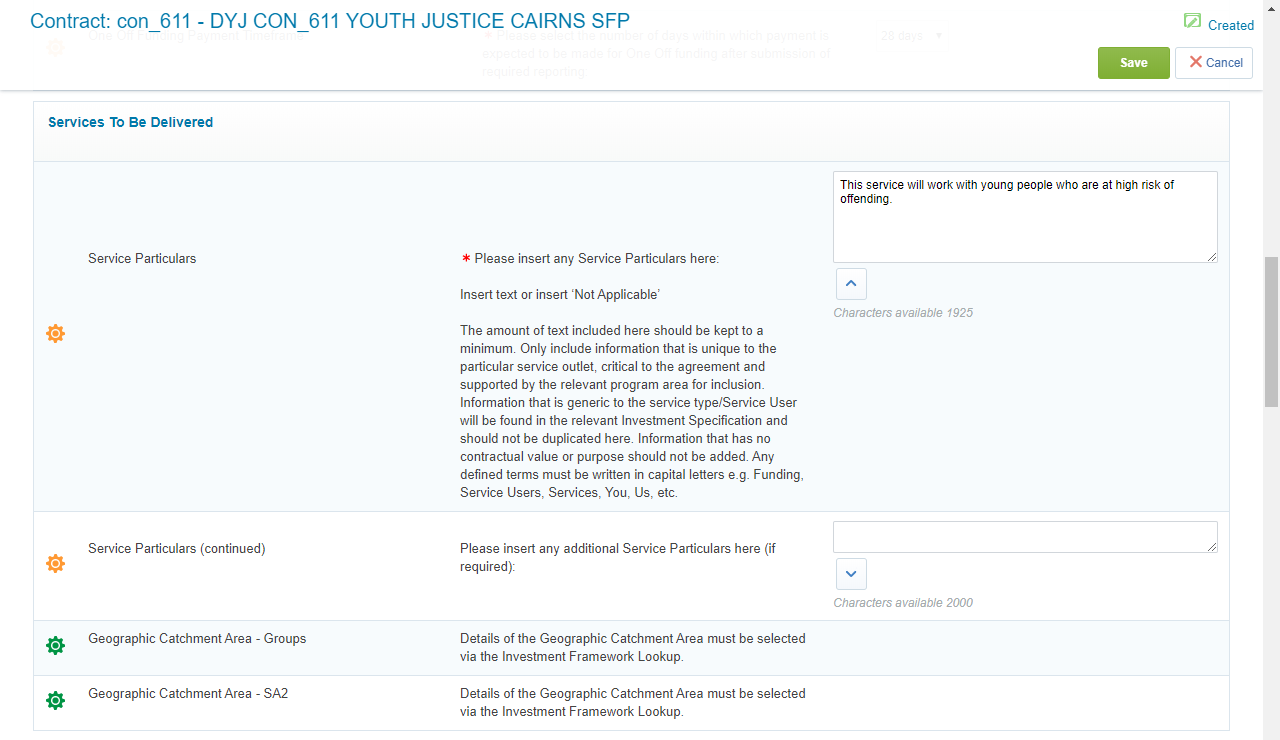
Enter the Services To Be Delivered.
-
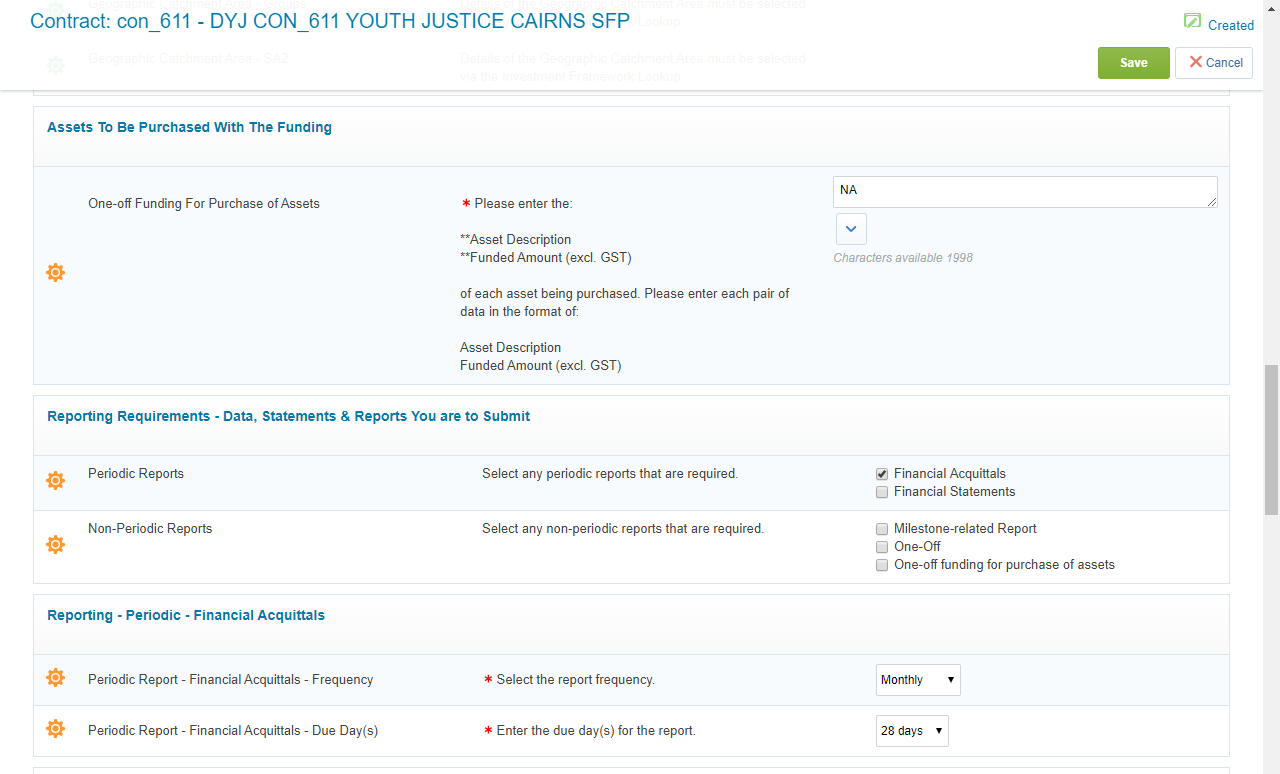
Enter any One-Off funding for Purchase of Assets.
Warning Only include funding details if you have added these as items in the Price List.
-
Select any Reporting Requirements - Data, Statement & Reports You are to Submit.
-
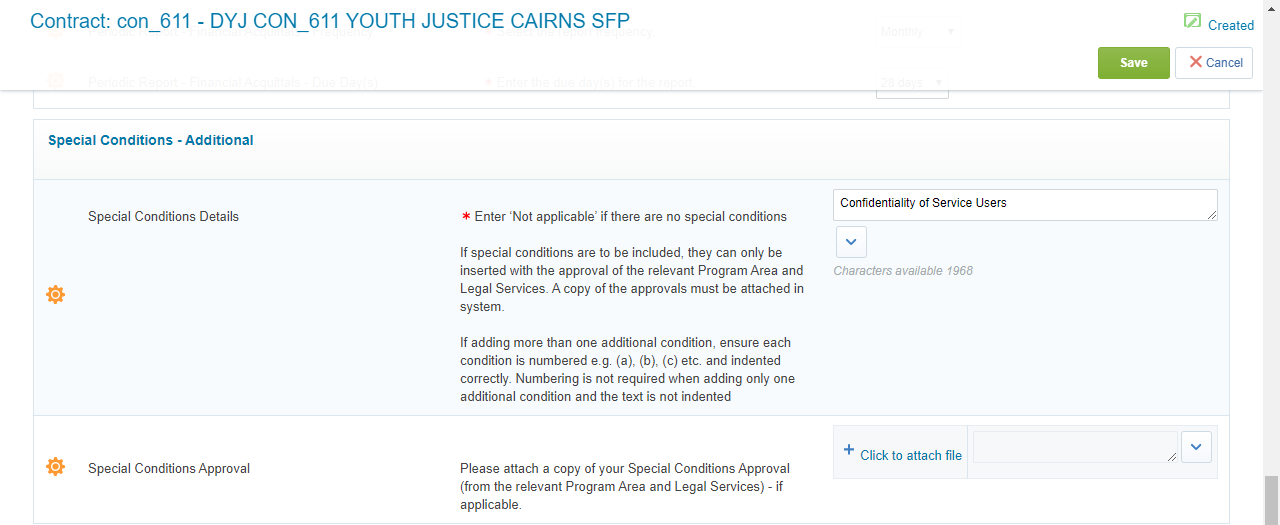
Enter any Special Conditions Details if applicable.
-
Attach the Special Conditions Approval if you have entered any special conditions.
-
Enter the Notice Details "You".
-
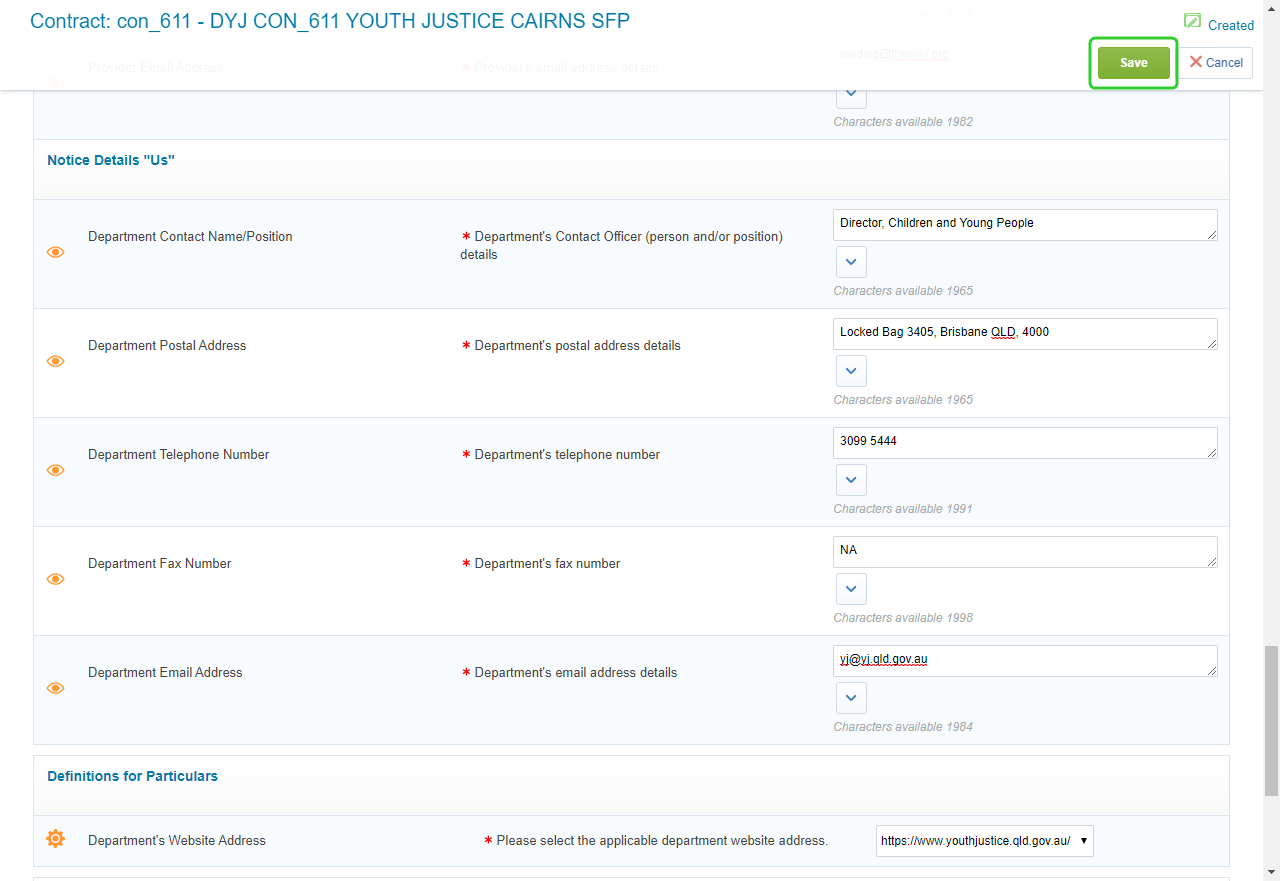
Enter the Notice Details "Us".
-
Select the Department's Website Address.
-
Click Save.
Note The Risk Profile options are selected based on the outcomes of the Value Risk Matrix.
The contract proposal is used to create a draft that can be sent to the supplier for approval
To create a contract proposal:
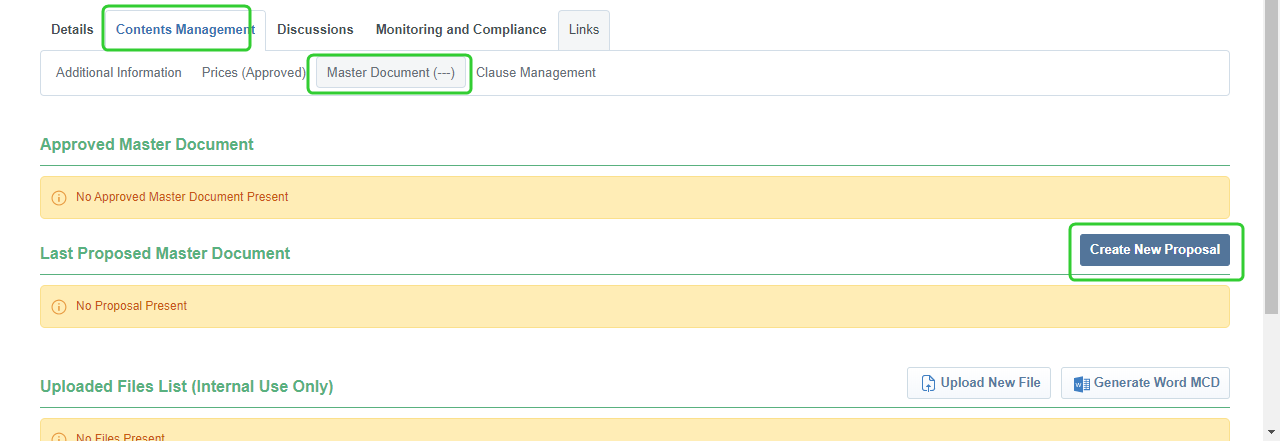
- Click the Contents Management tab.
-
Click Master Document.
-
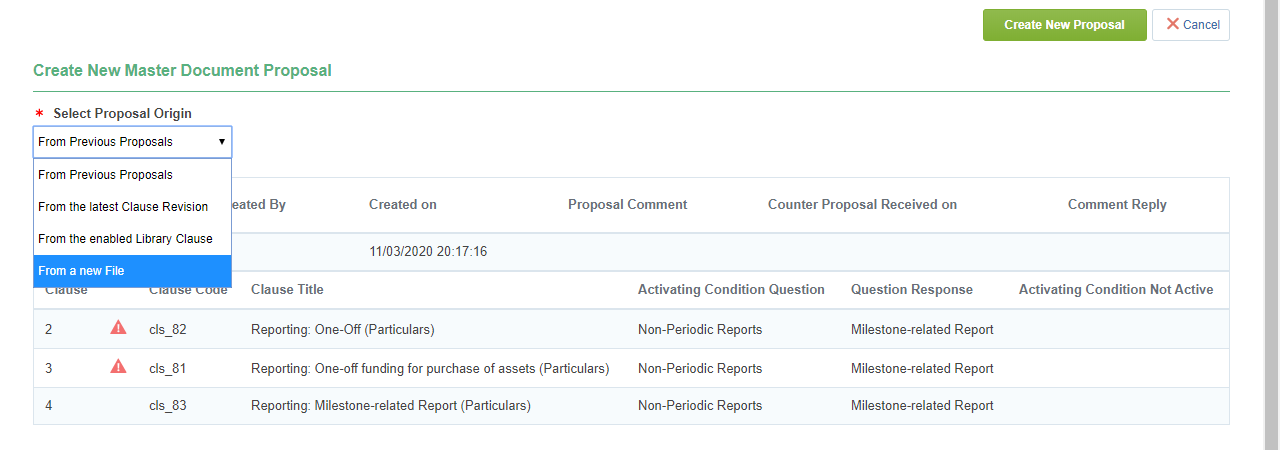
Click Create New Proposal
-
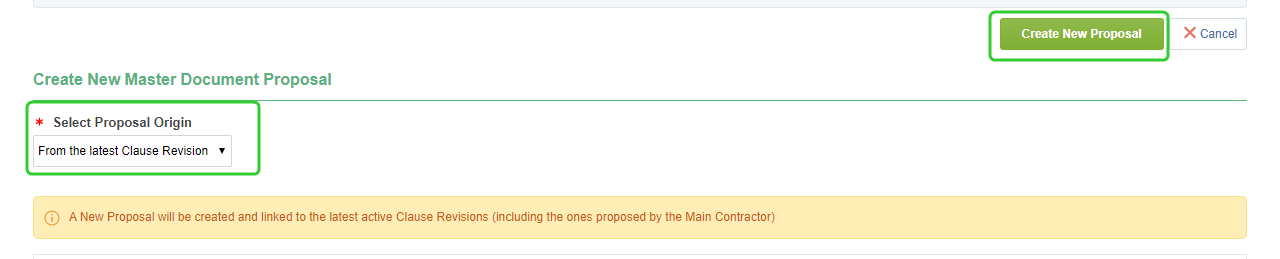
Leave Select Proposal Origin set to From the latest Clause Revision.
-
Click Create New Proposal
-
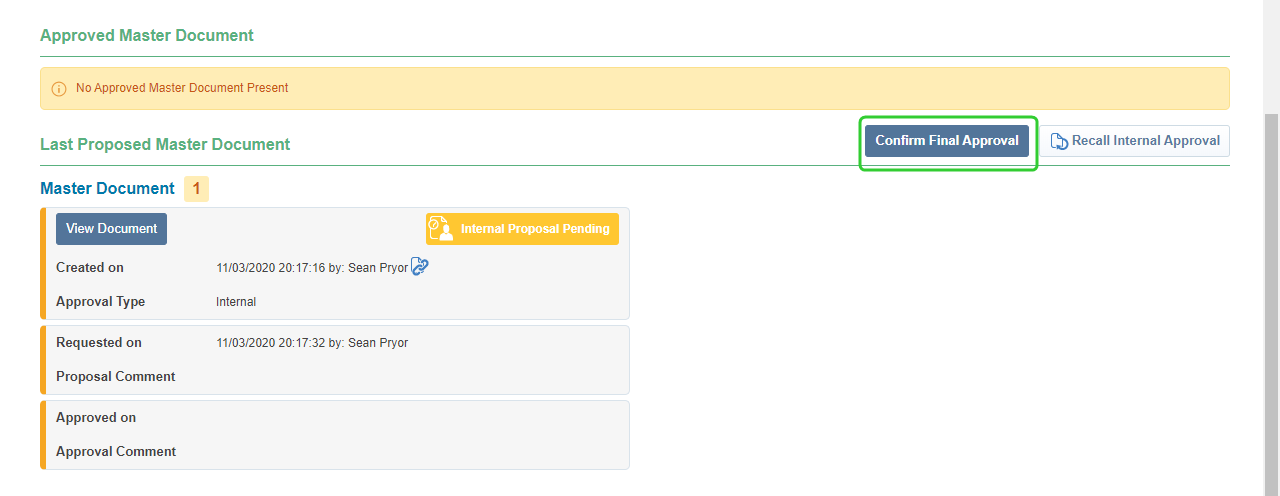
Click Confirm Final Approval.
-
Click Approve.

-
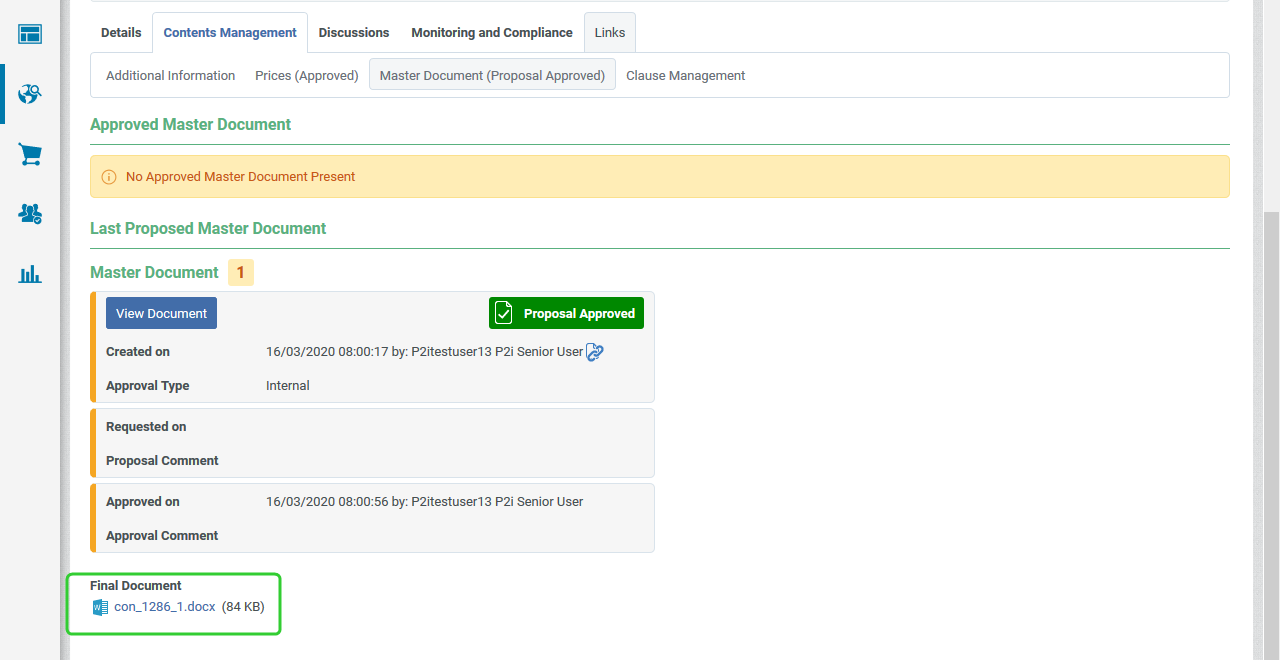
Click the link to the Final Document to open in Word. Send this to the Supplier as a draft for review once you have received approval from the P2i Senior Director.
Once you have created the contract you can now attach the contract set up documents.
These can include:
- the Value Risk Matrix
- the draft contract management plan/checklist
- the contract management plan/checklist
- the Funding Memorandum of Approval (where not already captured in the RFQ process).
- other forms as appropriate.
Tip Attach a copy of the contract to the "other forms as appropriate" section so that the P2i Senior Director can access and review when approving.
To attach the approved contract set up documents follow the instructions:
-
Return to the Create, Set-up and Approve Contract task.

-
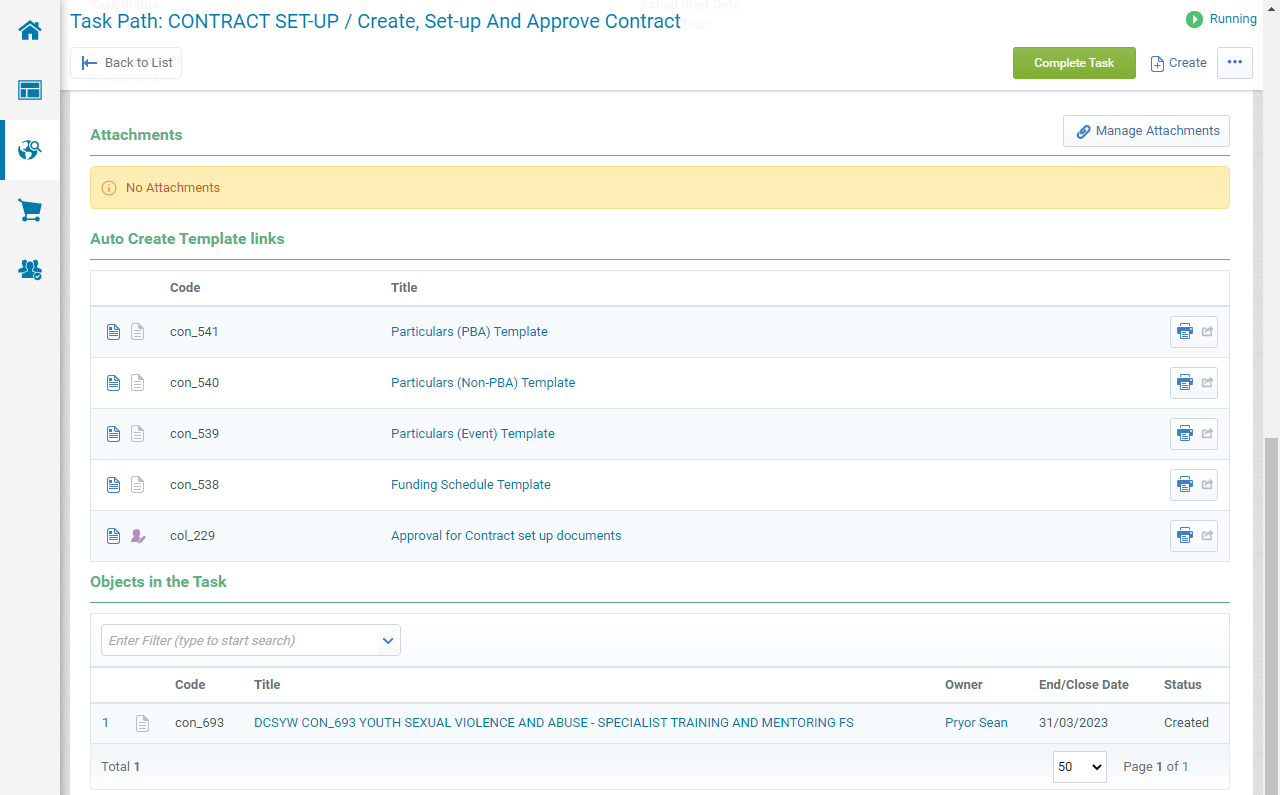
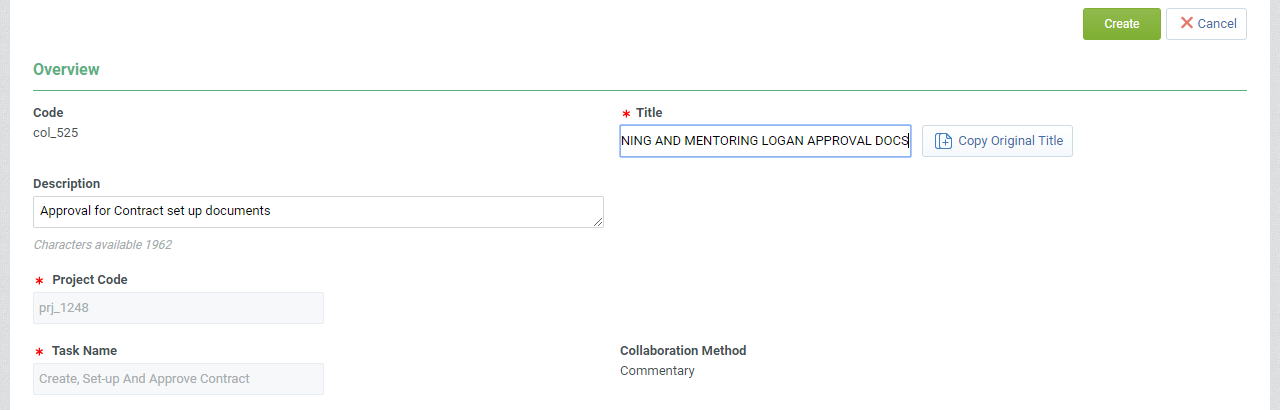
Scroll down to the Auto Create Template links. section and click Approval for Contract set up documents.
-
Enter a Title and click Create.
Note Follow the same naming convention used for the Contract Title.
-
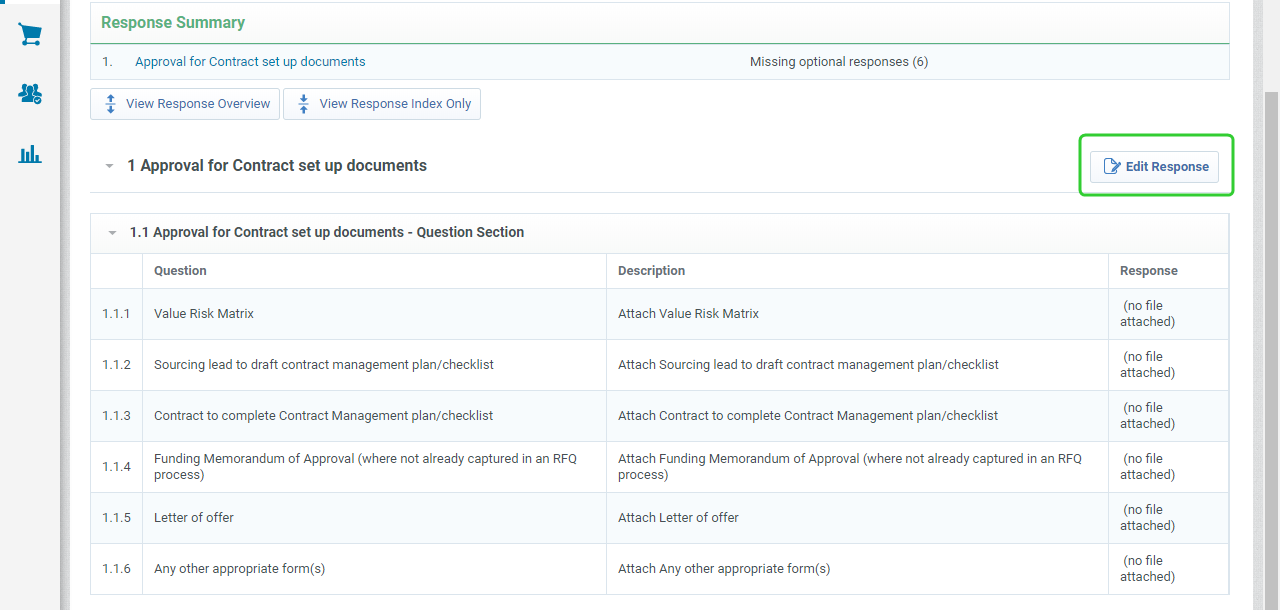
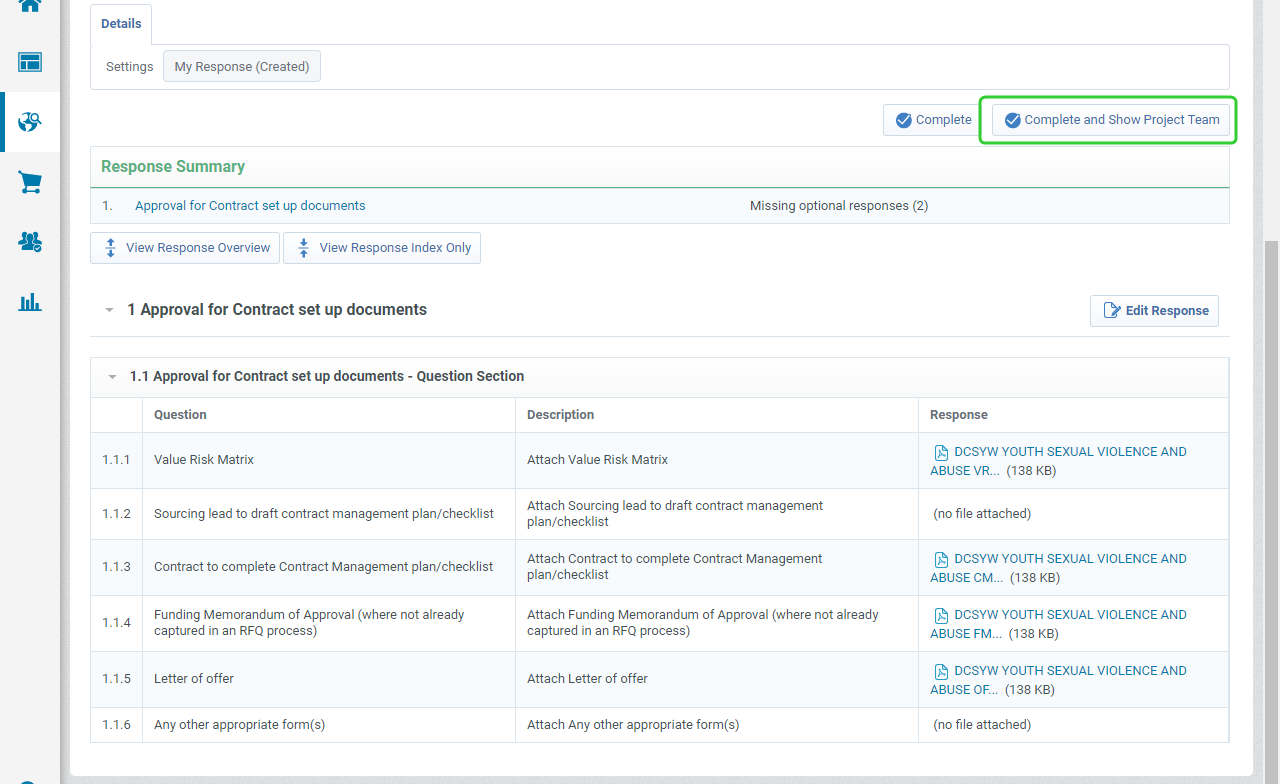
Click Edit Response.
-
For each document, click to attach file.

-
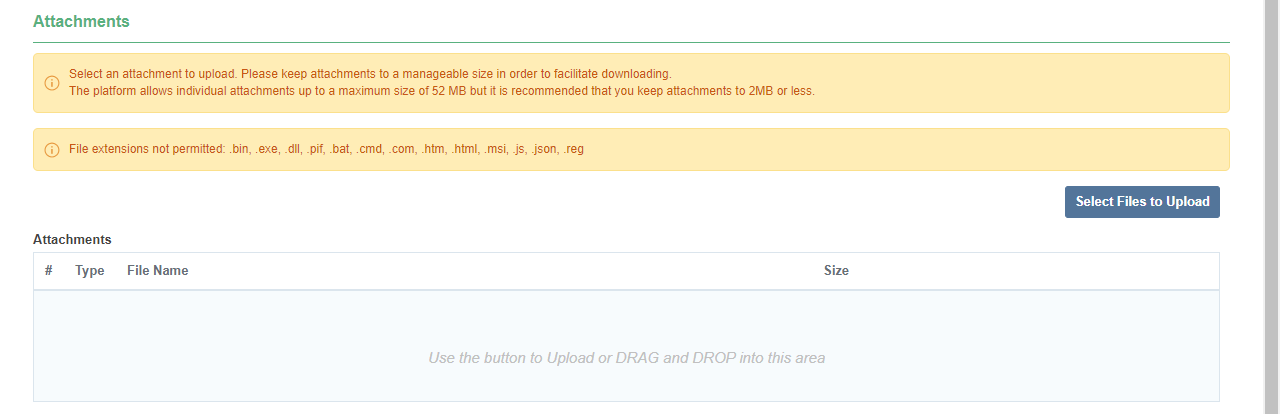
Drag and drop your files into the area.
Tip Click Select Files to Upload to select the file instead of using drag and drop.
-
Click Confirm.

-
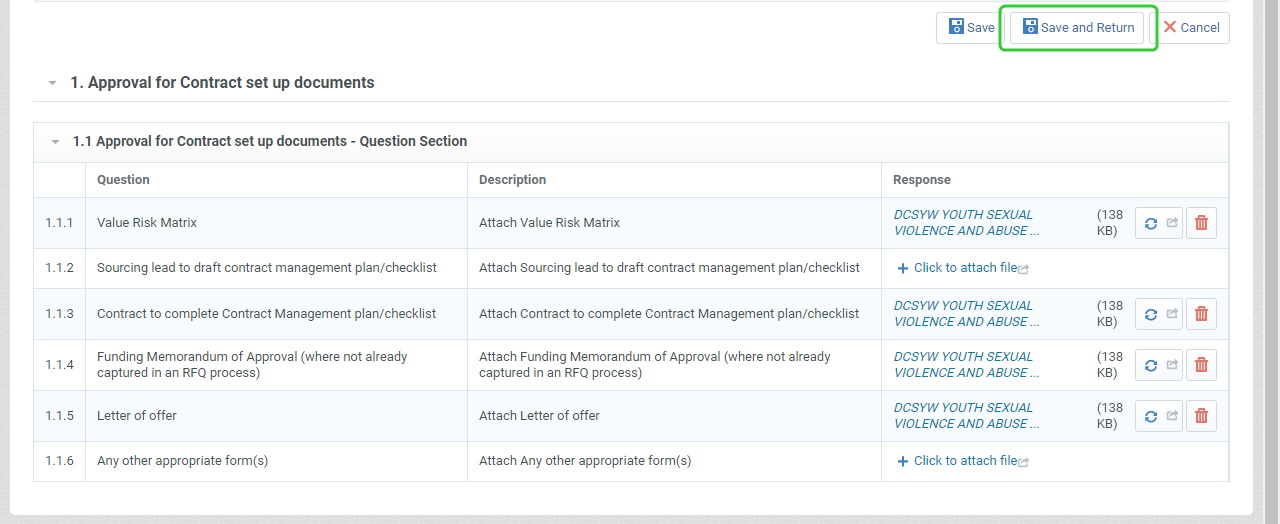
Continue to attach the required approval documents.
Tip Click the Bin icon to delete the uploaded attachment or click the Recycle icon to replace the uploaded attachment.

It is recommended that you attach a draft copy of the contract for the P2i Senior Director to view during the approval stage. -
Click Save and Return when complete.
-
Click Complete and Show Project Team.
Warning Click Complete and Show Project Team so anyone on the project team can view the documents.
-
Return to the Create, Set-up and Approve Contract task.
The P2i Senior Director is required to approve the short form particulars before the draft can be sent to the Supplier.
Tip If you haven't already done so, Add your P2i Senior Director to the Project Approver List. This can be found under the Process tab.
To request approval:
-
Return to the Create, Set-up and Approve Contract task.
-
Copy the wording in the tasks instructions to add to the Approval Description.

-
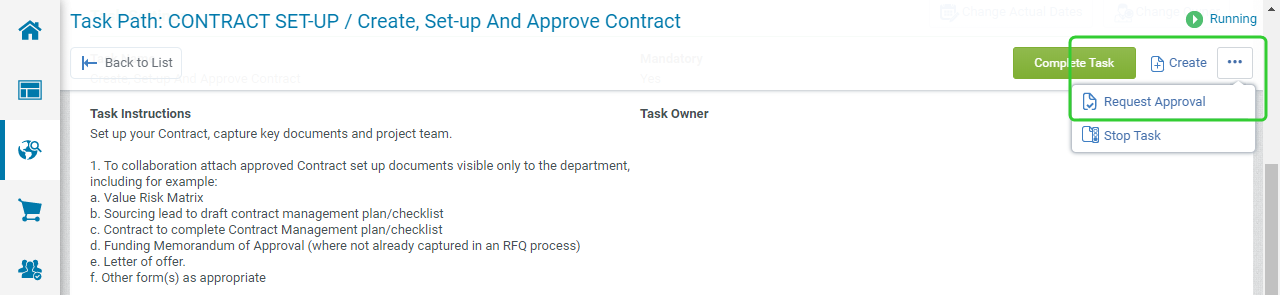
Click the ... button and select Request Approval.
-
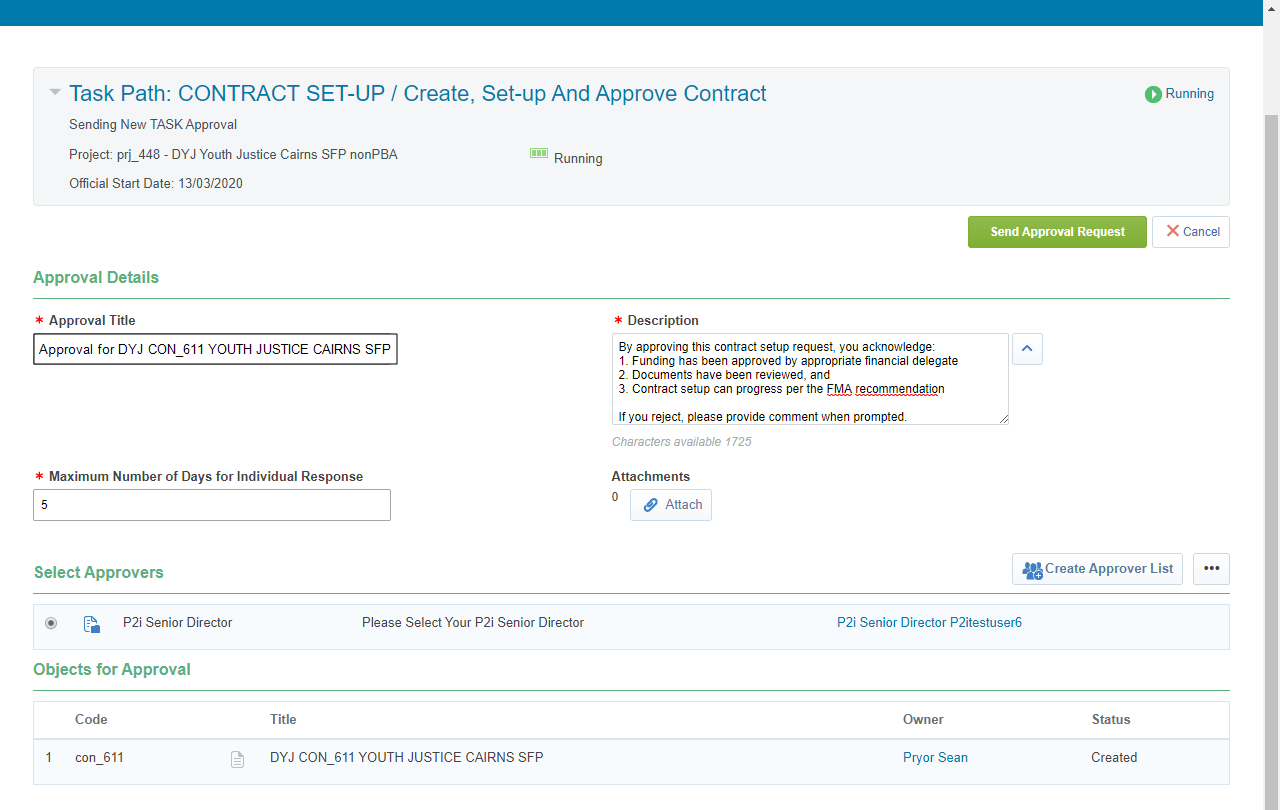
Paste the copied text into the Description
-
Update the Approval Title to make it more meaningful for the Approver.
-
Click Send Approval Request.
Once the Short Form Particulars has been approved, the contract set-up task can be completed.
-
Click Promote Objects next to the Create, Set-up and approve contract task.

-
Click Promote Objects.
-
Click Confirm.
Once the final conditions of the contract have been agreed and updated in P2i, the P2i Senior User can generate the Short Form Particulars and send it through to the Contract Officer who will email it to the Supplier for wet signature.
Note If you have made changes to the Additional Information as a result of your discussions with the Supplier, you will need to refresh the document before requesting it to be signed. Refer to the topic, Updating changes made to the Contract.
-
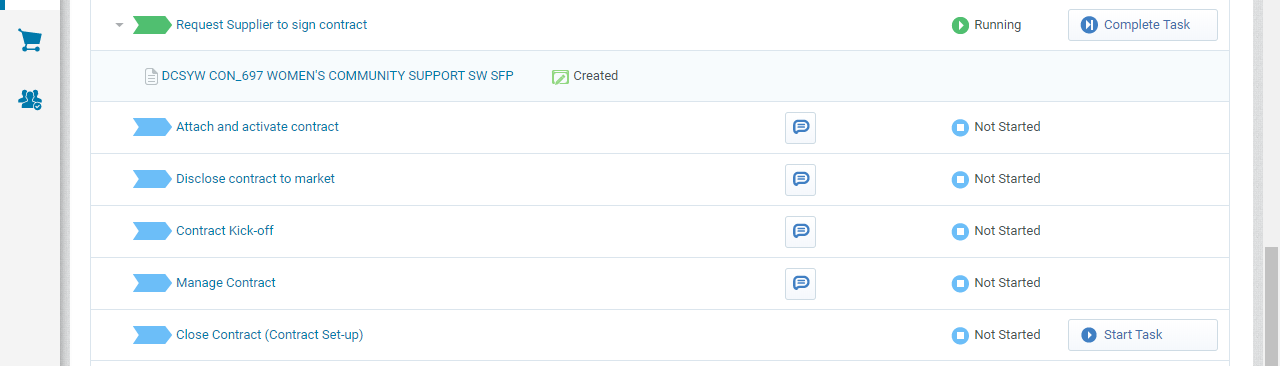
Click the Request Supplier signs contract task.

-
Review the task instructions and click the link to the contract.
-
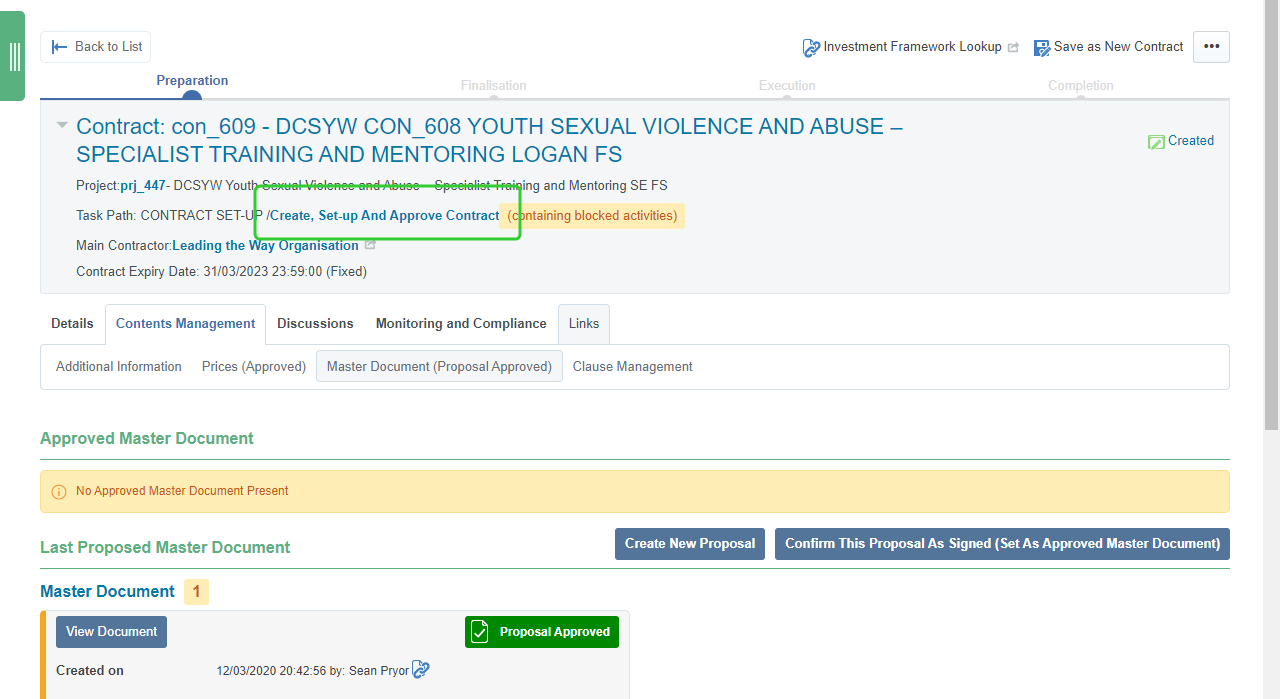
Click the Contents Management tab and select Master Document (Proposal Approves).
-
Click the link to the Final Document to open in Word.
Note Choose one of the two execution clauses at the end of the particulars and delete text as instructed.
-
Rename and send the shot form particulars document to the Supplier for wet signature.
Note The name of the contract document should follow the same naming convention as the Contract Title in P2i.
Department/Contract Number/Program/Service Outlet No/SFP
DCYJMA CON_### PROGRAM ###### SFP
This task must be completed before the P2i Contract Officer can attach and activate the contract. The P2i Contract Officer is able to perform this task, however P2i Senior User, P2i Regional Manager or P2i Contract Manager must make them the contract manager of the contract before they can attach and activate the contract.
-
Click Complete Task.
-
Click Confirm.
-
Click Confirm.
The P2i Contract Officer, P2i Regional Manager, or P2i Contract Manager can attach and activate the contract if they have been added to the Project Team. The P2i Contract Officer must be made the Contract Manager so that they can complete the contract setup activities in the Contract Management Hub.
Tip Click ... and select Change Contract Manager. Search for and select the P2i Contract Officer. Click Confirm. If you have not already done so, add the P2i Contract Officer to the Project Team. The P2i Contract Officer receives a notification
To attach and activate the contract:
- Open the contract.
-
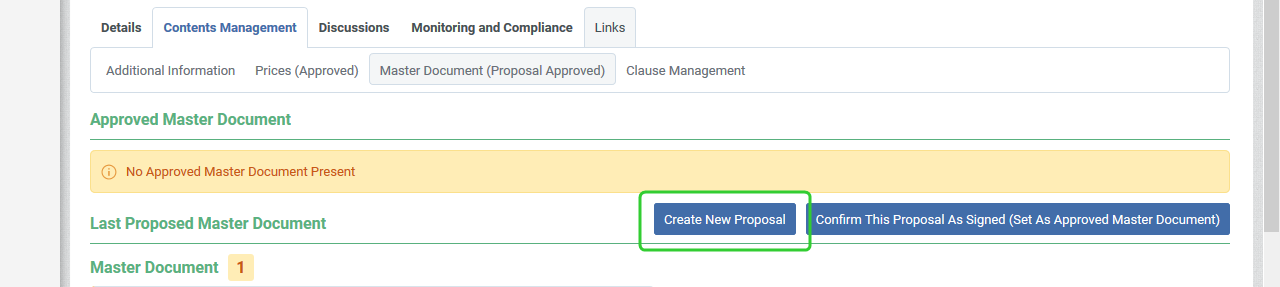
Click the Contents Management tab and select Master Document.
-
Click Create New Proposal.
-
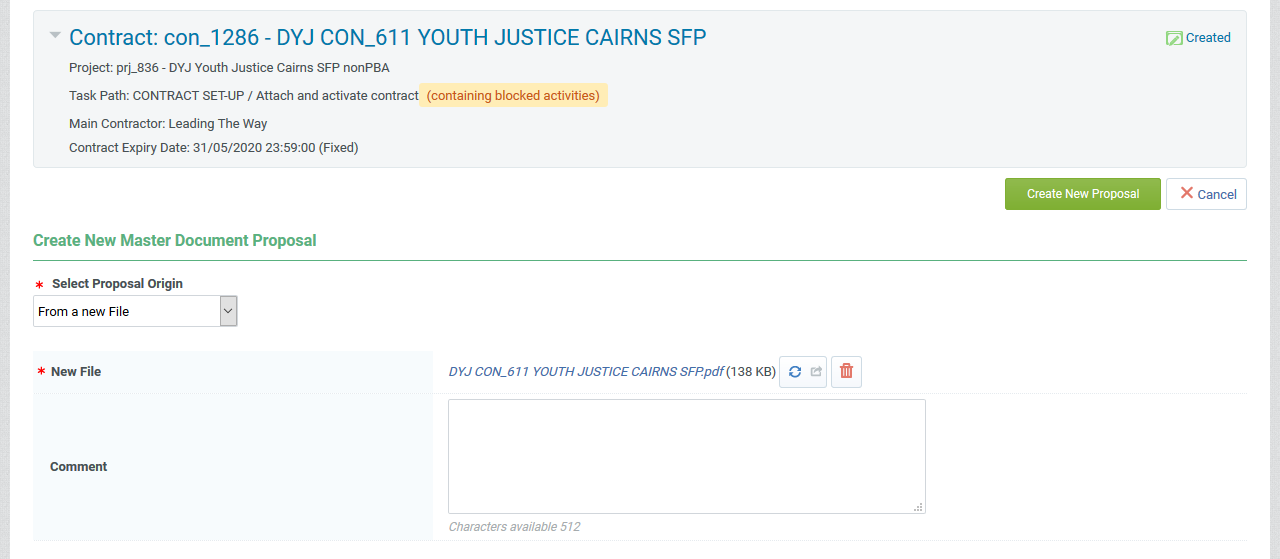
Select From a new File from the Select Proposal Origin list.
-
Drag and drop the signed and scanned contract into the area.

-
Click Confirm.

-
Click Create New Proposal.
-
Click Confirm Final Approval.
-
Click Approve.
-
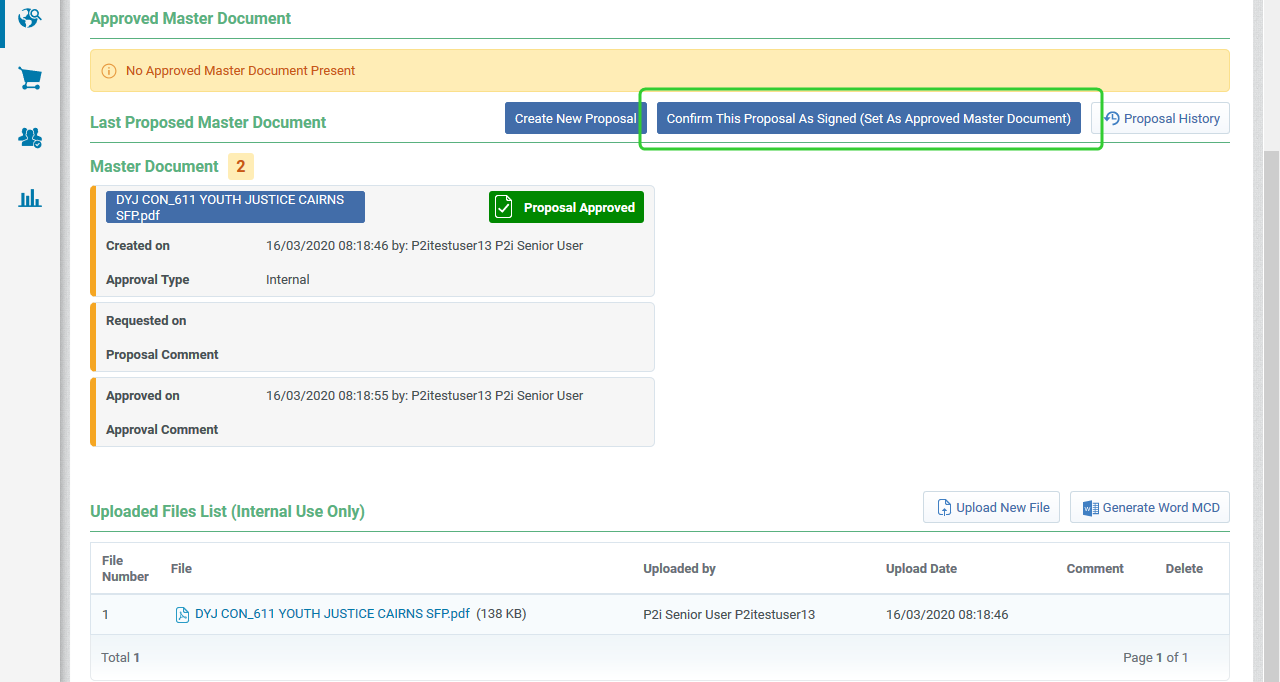
Click Confirm This Proposal As Signed (Set As Approved Master Document).
-
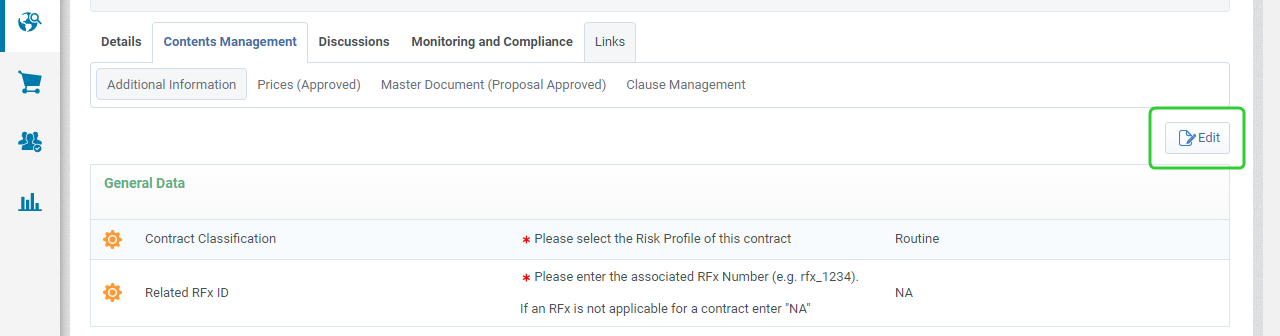
Click Additional information.

-
Click Edit.
-
Enter the Execution Date and click Save.
-
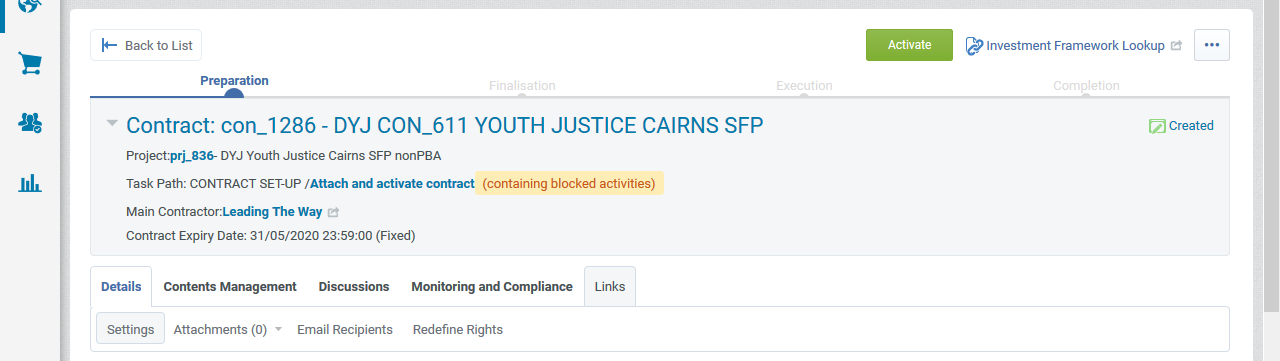
Click Activate.
Note If the Execution Date has not been recorded in the Additional Information screen, please complete this step before activating the contract.
-
Click Ok to Confirm.
-
Click Confirm.
-
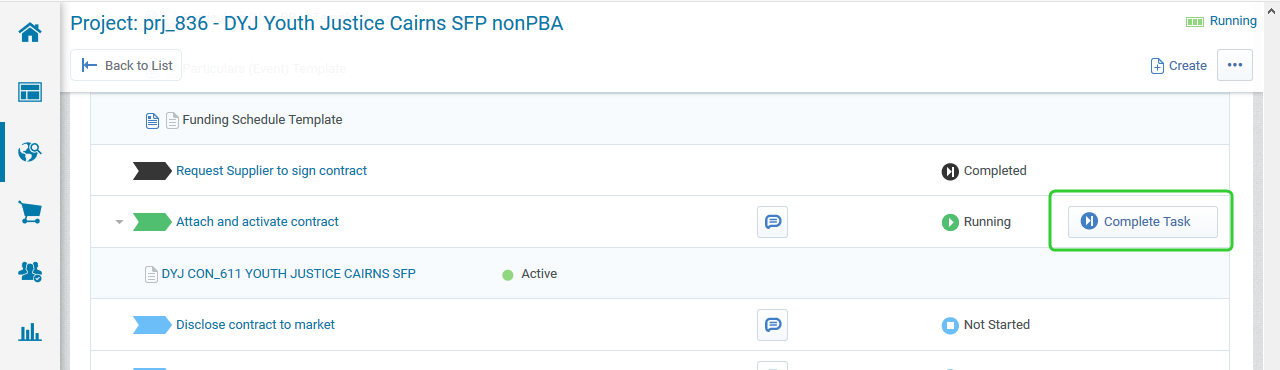
Click Complete Task to complete the Attach and activate contract task.
-
Promote the contract to the Disclose contract to market task and click Confirm.
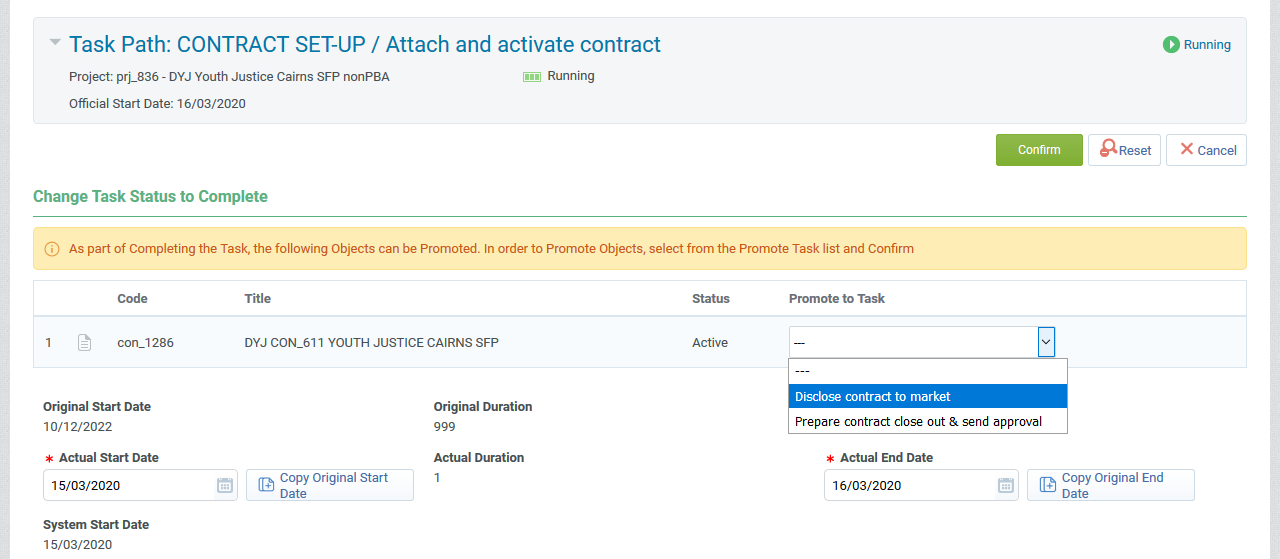
-
Click Confirm.
The P2i Procurement Authority is responsible for disclosing the contract to the market on QTenders. The Evaluation Panel Chair must notify unsuccessful suppliers.
To disclose the outcome of the RFQ to the market:
-
Send Letter/s to unsuccessful Supplier/s.
-
Award the RFQ in P2i RFQ workflow section.
Note Refer to the topic, Awarding suppliers.
-
Publish outcome to QTenders (if appropriate).
-
Once you have complete these steps, complete the Disclose to market task.
The Contract Officer or Contract Manager holds the Contract kick-off meeting and the P2i Contract Officer records the date and attaches PDF minutes in P2i.
Note If the Kick-Off meeting does not take place immediately, you do not need to complete this task before moving to the Manage Contract task. Both tasks are running so that they can be handled at the same time.
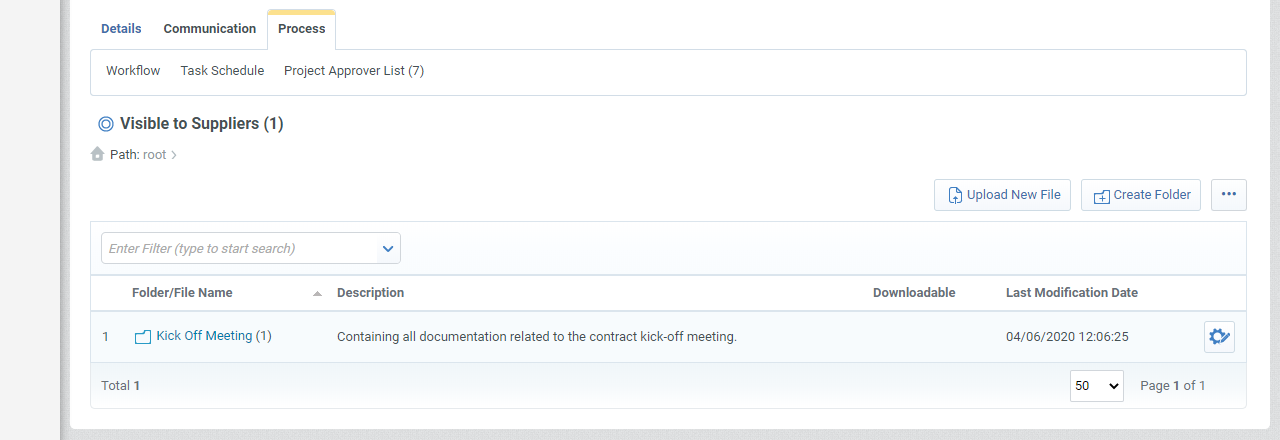
Tip Attach a copy of the contract kick-off meeting in the Contract so that they are visible to both the department and the supplier.
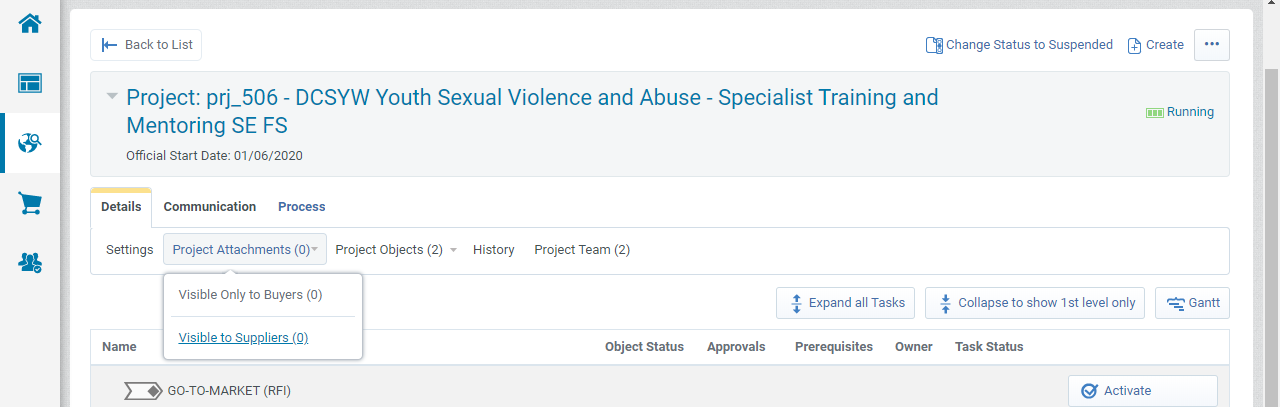
From the Project workflow screen:
-
Click Details, then Project Attachments and then Visible to Suppliers.
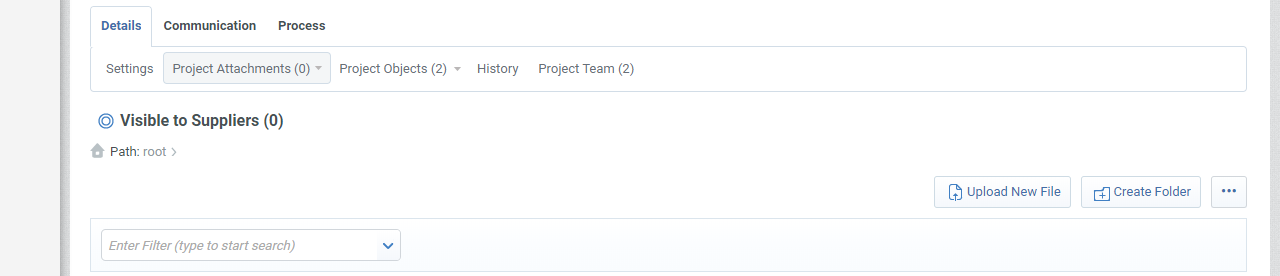
-
Click Create New Folder.
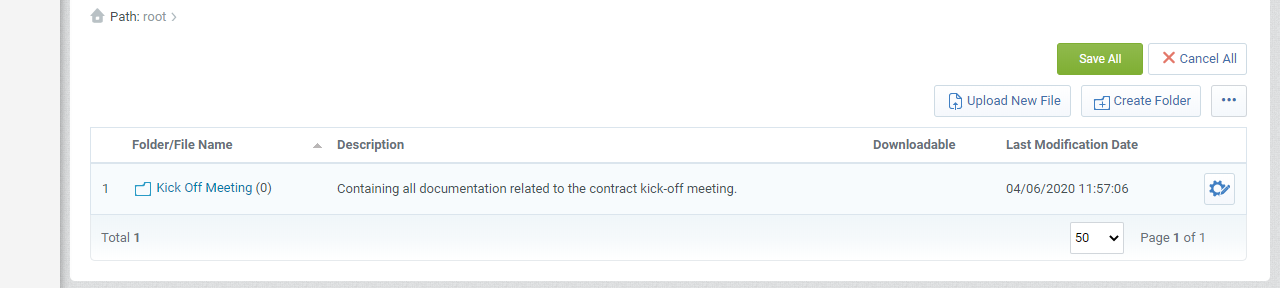
-
Enter a Folder Name and Folder Description.
Note The Internal Comments are only visible to the Department.

-
Select the folder.
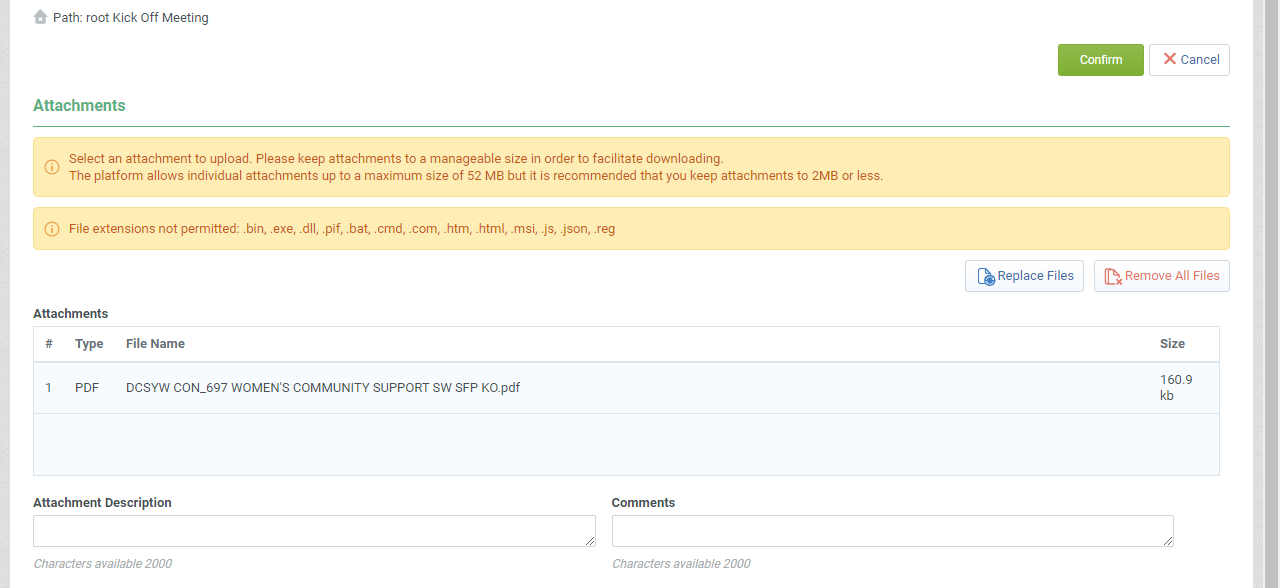
-
Click Upload New File.

-
Drag and drop the meeting minutes and click Confirm.
Tip Add a Attachment Description and Comments if required. These are visible to the Funded Organisation.
-
Click Save All.
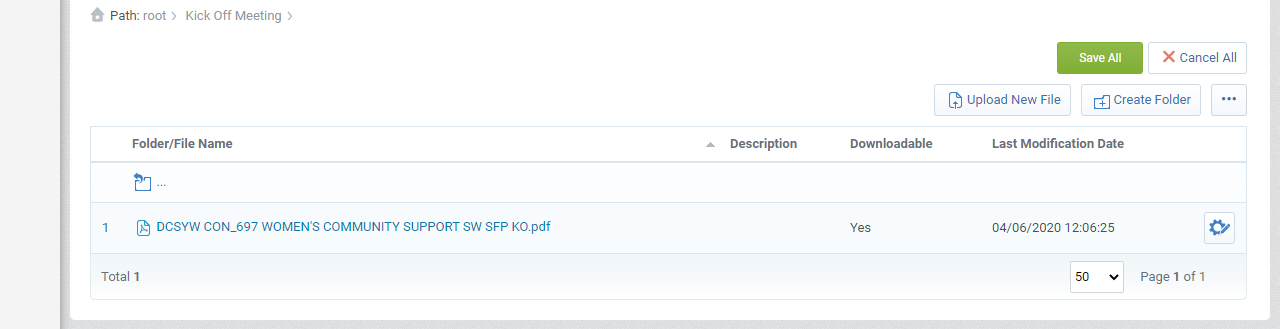
-
Click Confirm.
-
Click Process and then Workflow.
-
Once you have complete these steps, complete the Contract kick-off task.
Use the manage contract task to capture any additional key documents (like milestones) during the life time of the contract before the contract is progressed to contract closeout.
Note Follow your Department's records keeping practice and procedures to store documentation related to this procurement project/contract when required.
Refer to Activate and Generate Contracts to work through the process of preparing the short form particulars for further set up and ongoing management by the P2i Contract Officer, the P2i Contract Manager and P2i Payment Allocation Officer.
Complete the Manage Contract workflow task when you are ready to close out the contract. Refer to Close a Contract or Terminate a contract.